
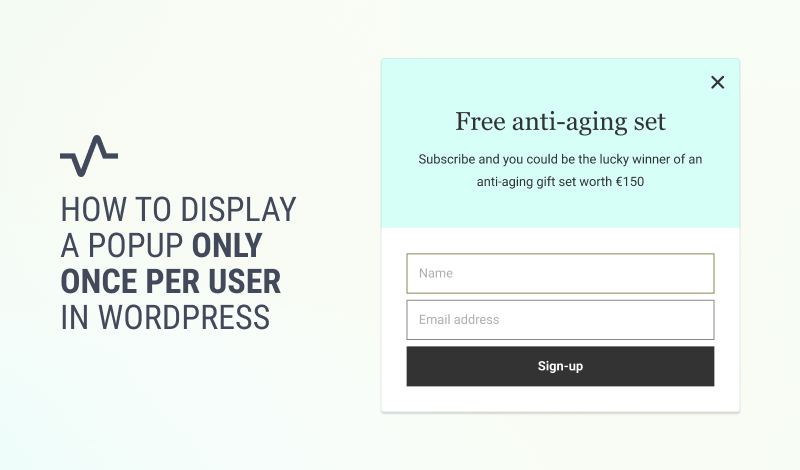
A visitor who dismissed your popup and sees it again on the next page has stopped reading it. Showing a popup once per user keeps the offer worth reading, and there's more than one way to define "once": per session, per day, per week, per month, or only on the very first visit. Each fits a different situation.
This guide goes through every option with a real store scenario, so you can pick the frequency that matches what the campaign is for.
TABLE OF CONTENTS
- Why Display Popups Only Once per User
- What You Need to Know Before You Start
- Create Your First Popup
- Case: Display Popup Only Once Per Session
- Case: Display Popup Only Once Per Day
- Case: Display Popup Only Once Per Week
- Case: Display Popup Only Once Per Month
- Case: Display Popup Only On the First Visit
- Case: Display Popup Only On the First Visit to the Homepage
- Conclusion
Why Display Popups Only Once per User
Shown once, a popup gets read. The visitor decides, and moves on. Every repeat after that trains them to close it without looking, the way people stop seeing banner ads: by the second or third appearance, the offer stops registering at all.
Repetition also costs trust. A site that pushes the same popup on every page view reads as desperate, and visitors respond by leaving sooner and ignoring the site's other messages, including the ones they might have wanted.
There's a conversion argument on top of the politeness one. The first impression is the offer's best shot: the visitor either wants the discount or the download, or they don't. Showing it again doesn't change their mind, but it does spend their patience, and patience is what your next campaign needs.
Frequency caps are also what let you run more than one campaign. A visitor numbed by an uncapped popup ignores the next popup too, so every campaign that follows an annoying one starts from behind. Give each campaign one clean shot per visitor and the next one still gets read.
Show it once, at the right moment Tell FireBox how often each campaign may appear, once per session, day, week, or month, and it remembers every visitor so you don't have to.What You Need to Know Before You Start
The tutorial below uses FireBox, an on-site marketing tool built for WooCommerce. It reads your site like a store: campaigns can see what's in the cart, what it's worth, what the shopper bought before, and which product they're looking at, and they can fire at the exact moment someone moves to leave. With Revenue Attribution, every campaign reports the WooCommerce revenue it brought back.

FireBox offers multiple triggers, such as on page load, exit-intent, scroll, and click, giving you precise control over when the popups appear. It also supports personalized and targeted popups with display conditions based on Device, Referrer, Page, URL, Cookie, Geolocation, Datetime, and even conditions for WooCommerce.
Step 1: Download FireBox Pro
The very first step is to get a license for FireBox Pro. Then, after purchasing FireBox Pro, you can access the Pro version.
- Go to fireplugins.com/downloads/
- Login with the details you received in the email after the purchase.
- Click Download in the Pro Downloads section.
Step 2: Install FireBox Pro
After downloading the FireBox Pro installation zip file, upload it to your site.
- Head to your WordPress dashboard and click on Plugins > Add New.
- Choose the zip file you have just downloaded. Click on install.
- Once the plugin is installed, click the Activate Plugin button to activate the plugin on your site.
Step 3: Activate FireBox Pro
After installing FireBox Pro, you must activate your license to ensure you receive automatic updates from the plugin. To learn more about creating and managing your license keys, click here.
If you need any help with the installation process, see the documentation on installing FireBox Pro for help. If you're already using FireBox Lite, you can easily upgrade from Lite to Pro. However, after upgrading to Pro, you must also activate your license to ensure you receive automatic plugin updates.
Create Your First Popup
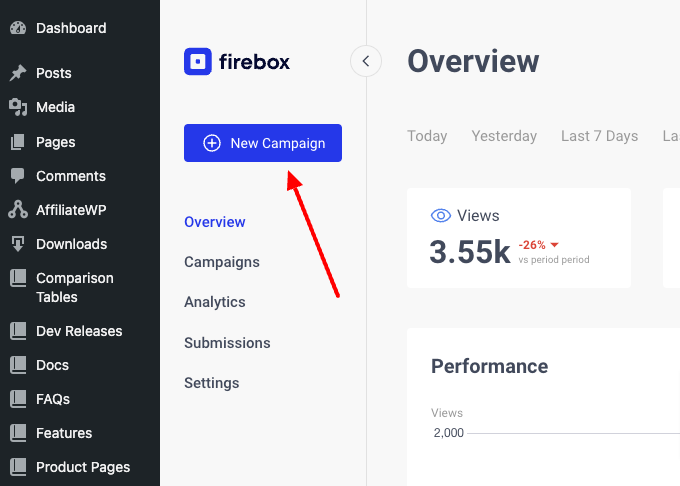
Now that you have the FireBox plugin installed, let’s look at how to create your first popup. Head to the FireBox plugin in your WordPress dashboard and click New Campaign, as shown in the screenshot below.
You will see a dialog with lots of pop-up layouts appearing. FireBox has a big collection of ready-to-use popup templates to help you get started.
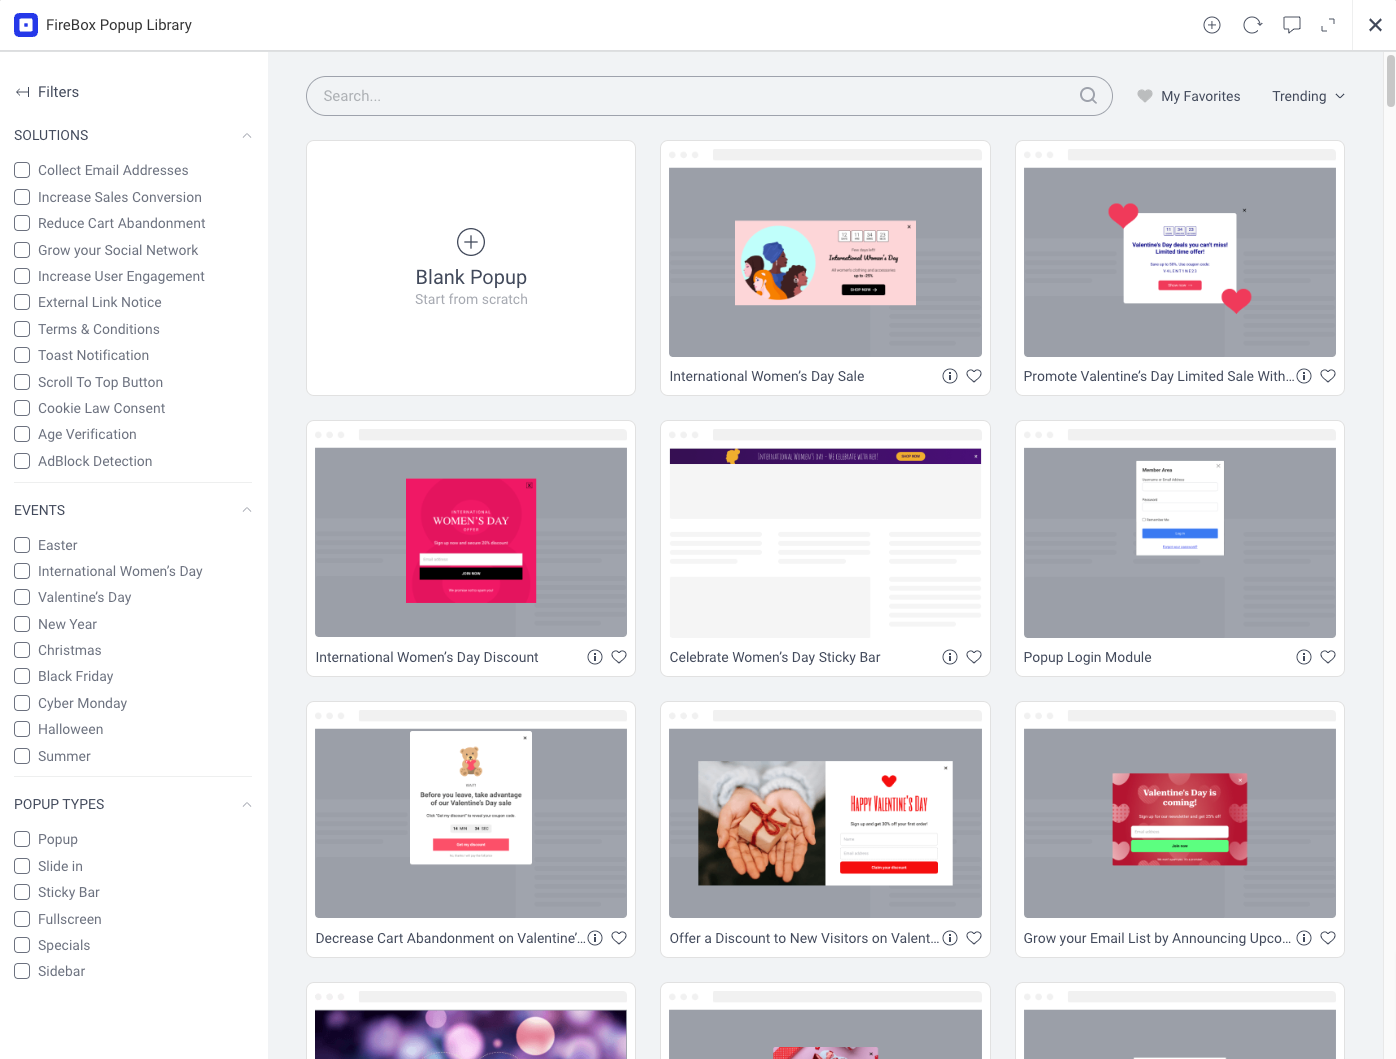
Pick any template from the list and click Insert. Once the popup builder loads, you will see the popup of your choice at the top area of the builder.
Below the popup preview area, there are the popup settings. The only settings that will concern are the settings in the Open/Close Behavior section that help us control the popup's display frequency.
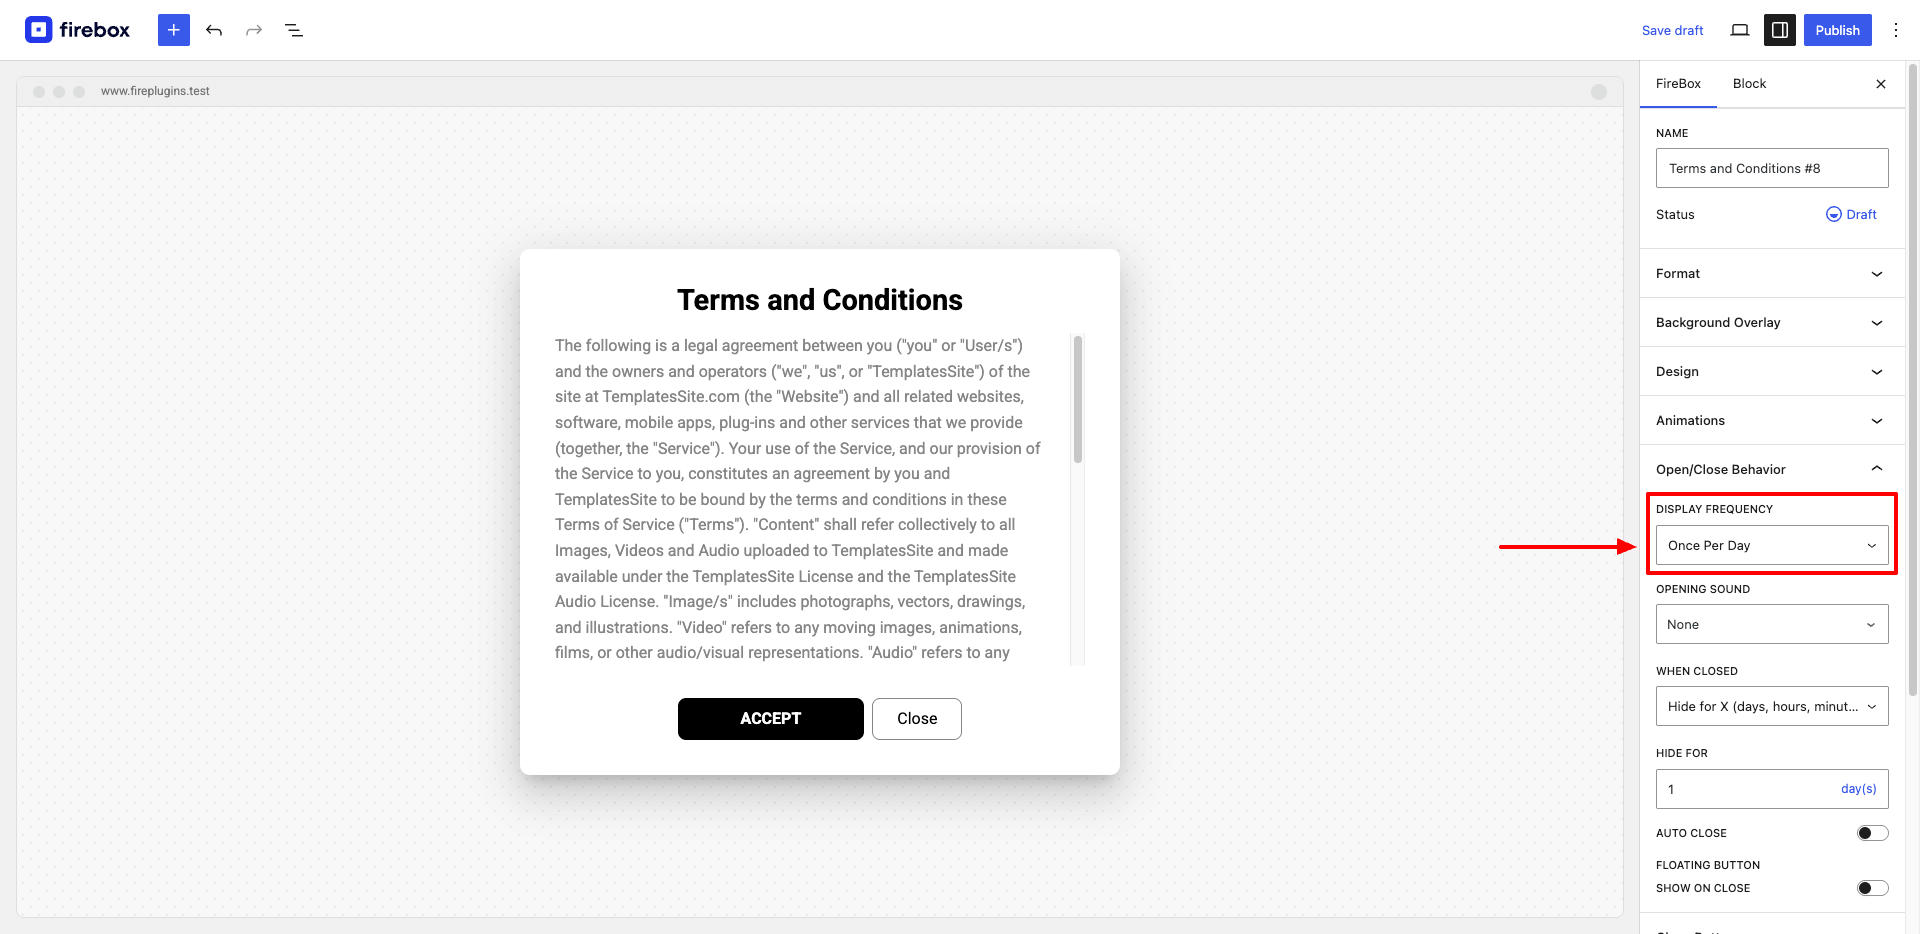
FireBox uses cookies to track users and determine whether a user has previously seen a popup. This means the visitor's browser must be configured to accept cookies for this functionality to work.
With FireBox installed, here are the real use cases, and the setting each one needs.
Case: Display Popup Only Once Per Session
Suppose you operate a WooCommerce website and have a limited-time discount code you want to showcase. You can configure a popup to appear to users only once throughout their session, allowing them to navigate your site without repeated distractions.
To do so, in the FireBox settings, select the Once Per Session option in the Show Frequency option, as shown in the screenshot below.
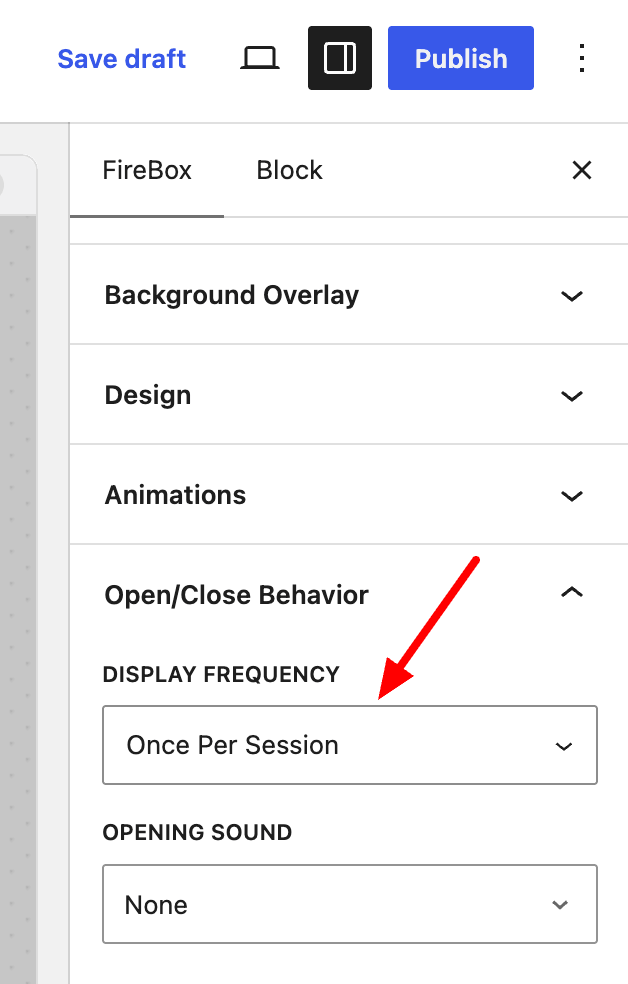
With this setting, a popup is displayed to users only once while browsing your website. This ensures that users are not repeatedly interrupted by the same popup.
Case: Display Popup Only Once Per Day
You manage a news website, and there is an important breaking news story that you want to ensure every visitor is aware of. You can display the popup to users once per day, effectively updating and engaging users who return to your site within that timeframe.
To do so, in the FireBox settings, select the Once Per Day option in the Show Frequency option, as shown in the screenshot below.
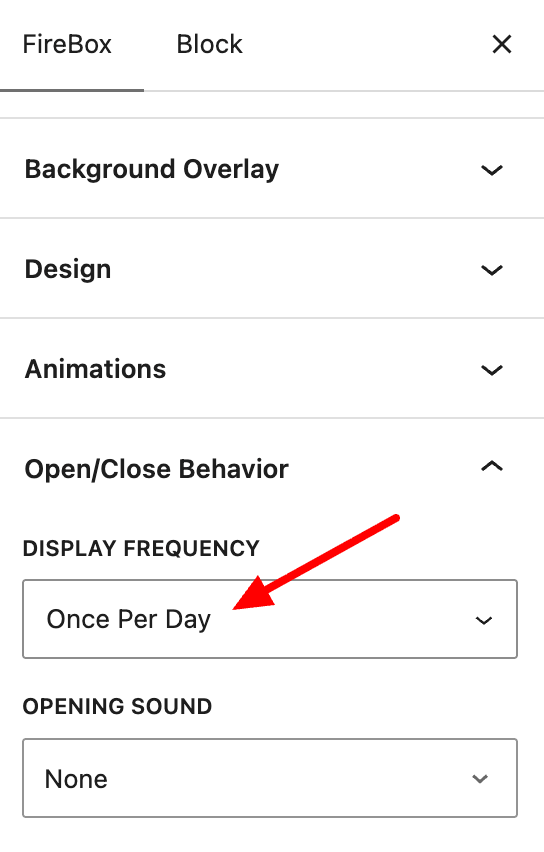
This setting limits the display of a popup to once every 24 hours for each user. This is a gentle reminder for users who return to your site within a day.
Case: Display Popup Only Once Per Week
Suppose you run a membership-based community. You have weekly updates, discussions, or member-only perks that you want to showcase. You want a popup displayed to each user once every seven days, keeping them informed and engaged without overwhelming them with repetitive notifications.
To limit the popup's display frequency to once a week, select the Once Per Week option, as shown in the picture below.
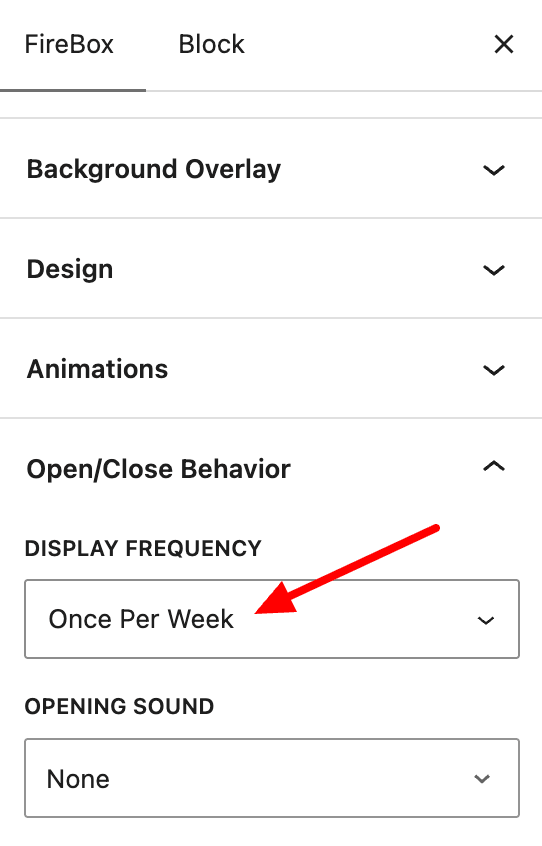
With this option, you can restrict the appearance of a popup to once every seven days for each user. This setting lets you maintain consistent visibility for important announcements or long-running campaigns.
Stop repeating the offer to the same shopper Show Frequency decides how often a campaign appears; display conditions decide who sees it at all. Together they mean the shopper who saw yesterday's offer doesn't meet it again today.Case: Display Popup Only Once Per Month
You run a subscription-based service and offer a free trial for new users. However, you want to ensure that users who have previously availed of the trial are not repeatedly prompted with the same offer. Instead, it would help if you had a popup displayed only once a month to new visitors who haven't yet experienced the trial.
To restrict the display of a popup to once every 30 days for each user, select Custom in the Show Frequency option and configure the rest of the settings as shown below.
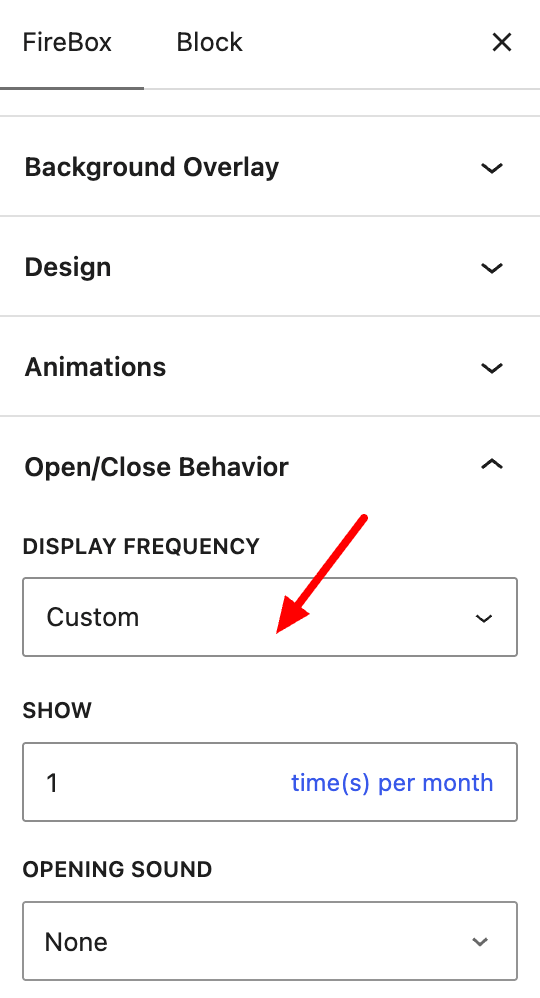
This approach helps maintain a sense of novelty and exclusivity, allowing you to focus on converting fresh leads without overwhelming returning users.
Case: Display Popup Only On the First Visit
Suppose you operate a travel blog. You want to offer a free travel guide or a newsletter subscription exclusively to users visiting your website for the first time, allowing you to capture their attention and encourage further engagement.
This requires an extra step to follow. First, select Once Per Session in the Show Frequency as you did in the Only Once per Session case.
Next, go to the Display Conditions tab and configure the New/Returning Visitor display condition, as shown in the picture below.
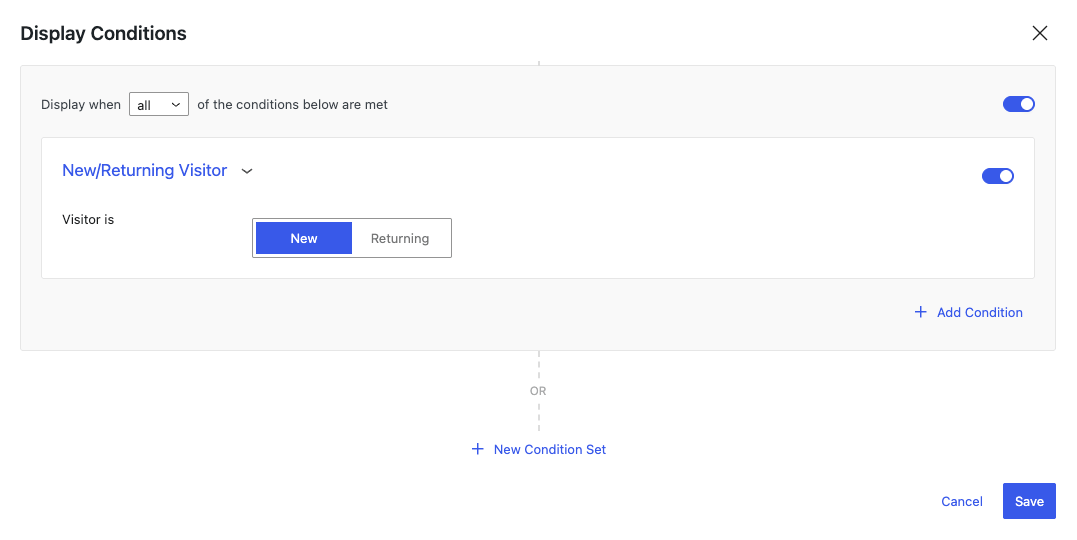
This setting ensures that the popup is displayed to users only during their initial visit to your website. This creates a personalized experience for new visitors.
Case: Display Popup Only On the First Visit to the Homepage
Let's say you manage a software company. You want to showcase the key features of your software or offer a limited-time trial to visitors landing on your homepage for the first time, making a strong initial impression and guiding them toward conversion.
Select Once Per Session in the Show Frequency as you did in the Only Once per Session case.
And then, in the Display Conditions, add and configure the Homepage condition.

This case allows you to display a popup exclusively to users on their first visit to the homepage of your website. This maximizes engagement with your site's main page.
Targeting that reads the cart On WooCommerce the conditions go further than new or returning: cart value, cart contents, purchase history. Show the discount once, and only to the cart that earns it.Conclusion
Every case above comes down to the same two steps: set the Show Frequency, and add a display condition where the case needs one. Pick the cap that matches the campaign's job, and the popup stays something visitors actually read.
Get FireBox for Free
Enter your WordPress website URL to install instantly.
Trusted by 9,000+ users

0 Comments