

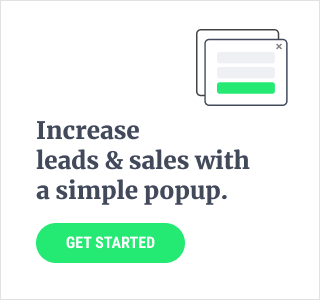
A popup for your website is a wonderful choice if you're giving your visitors a discount, service, or product or even if you have an announcement or giveaways. The visibility of a popup is one of its benefits since it can quickly pique your visitors' interest once they arrive on your page.
Creating a well-designed popup can be tricky at first. Still, you can do it in no time since it requires no technical expertise and many plugins offer drag-and-drop options for their popup.
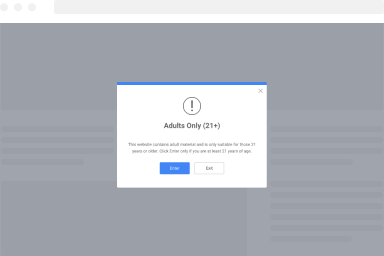
A Page Load Trigger fires when all a page's assets have loaded, including all its dependent elements such as stylesheets, scripts, and images. For example, if you click a website from Google results and land on its home page, which instantly shows a popup, then the Page load trigger is fired.
Benefits of a modal popup on page load
Showing a popup on page load automatically can benefit you in these ways;
- Boosting your email subscribers
- Attracts the attention of the audience/Visibility
- Increases the session duration of your website visitors
- Promotion of Your Brand
Let's start creating your first popup with FireBox, our WordPress Popup Plugin.
How to create a popup on Page Load
It's simple to make a popup with FireBox. It is user-friendly and doesn't require significant technical knowledge, so your popup can stand out on your website.
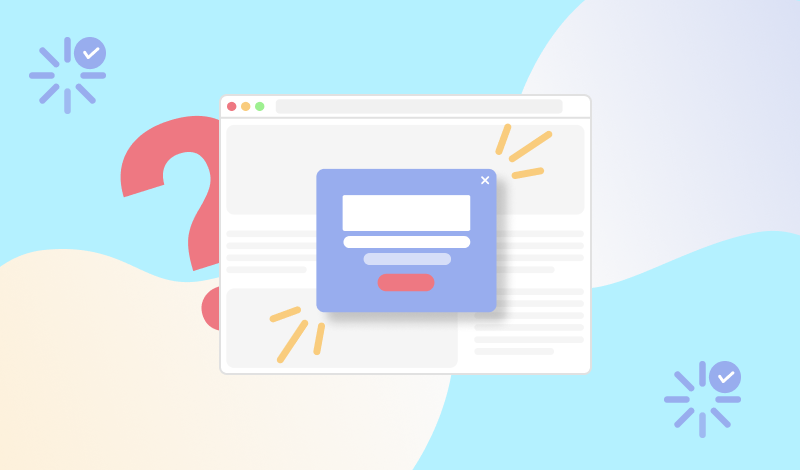
On Page Load Popups Attract visitor attention and boost conversions by automatically triggering a popup on page loadStep #1: Install FireBox on your WordPress site
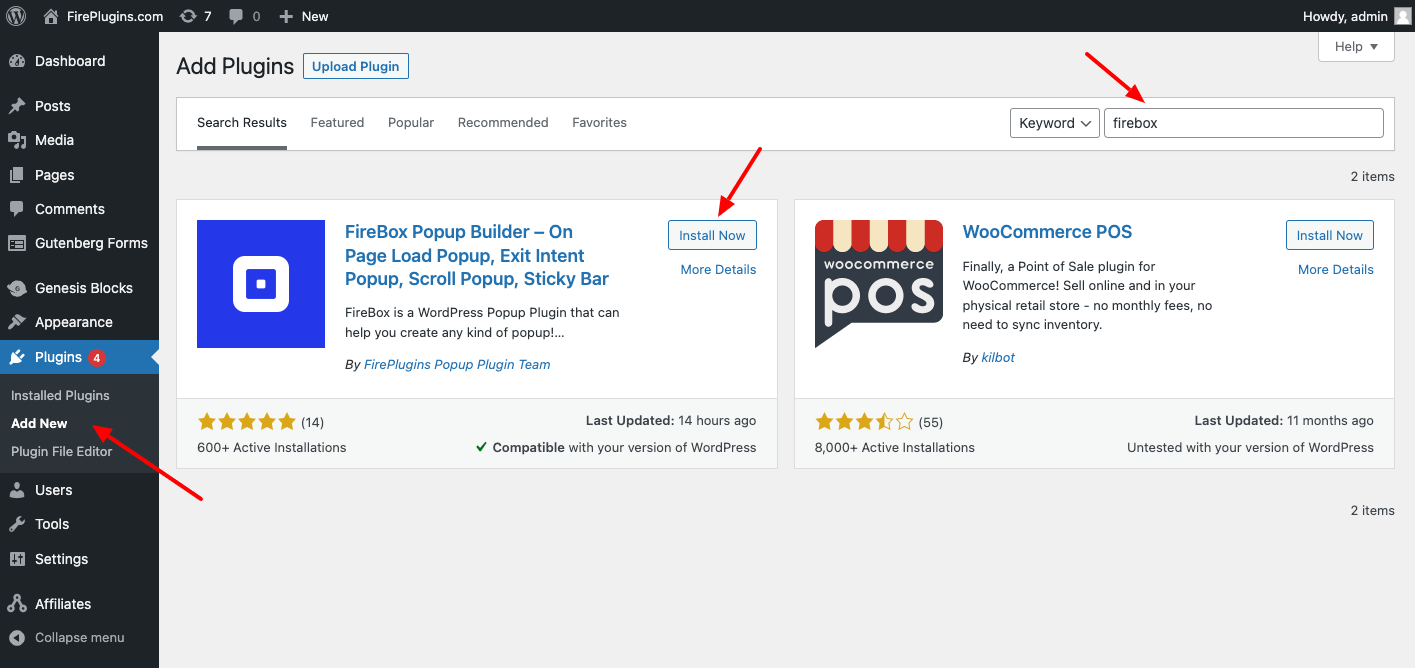
To create your new popup using FireBox, install it first by heading to the WordPress admin > Plugins > Add New > Search for "FireBox" and click Install and then Activate.
Step #2: Create your new popup box
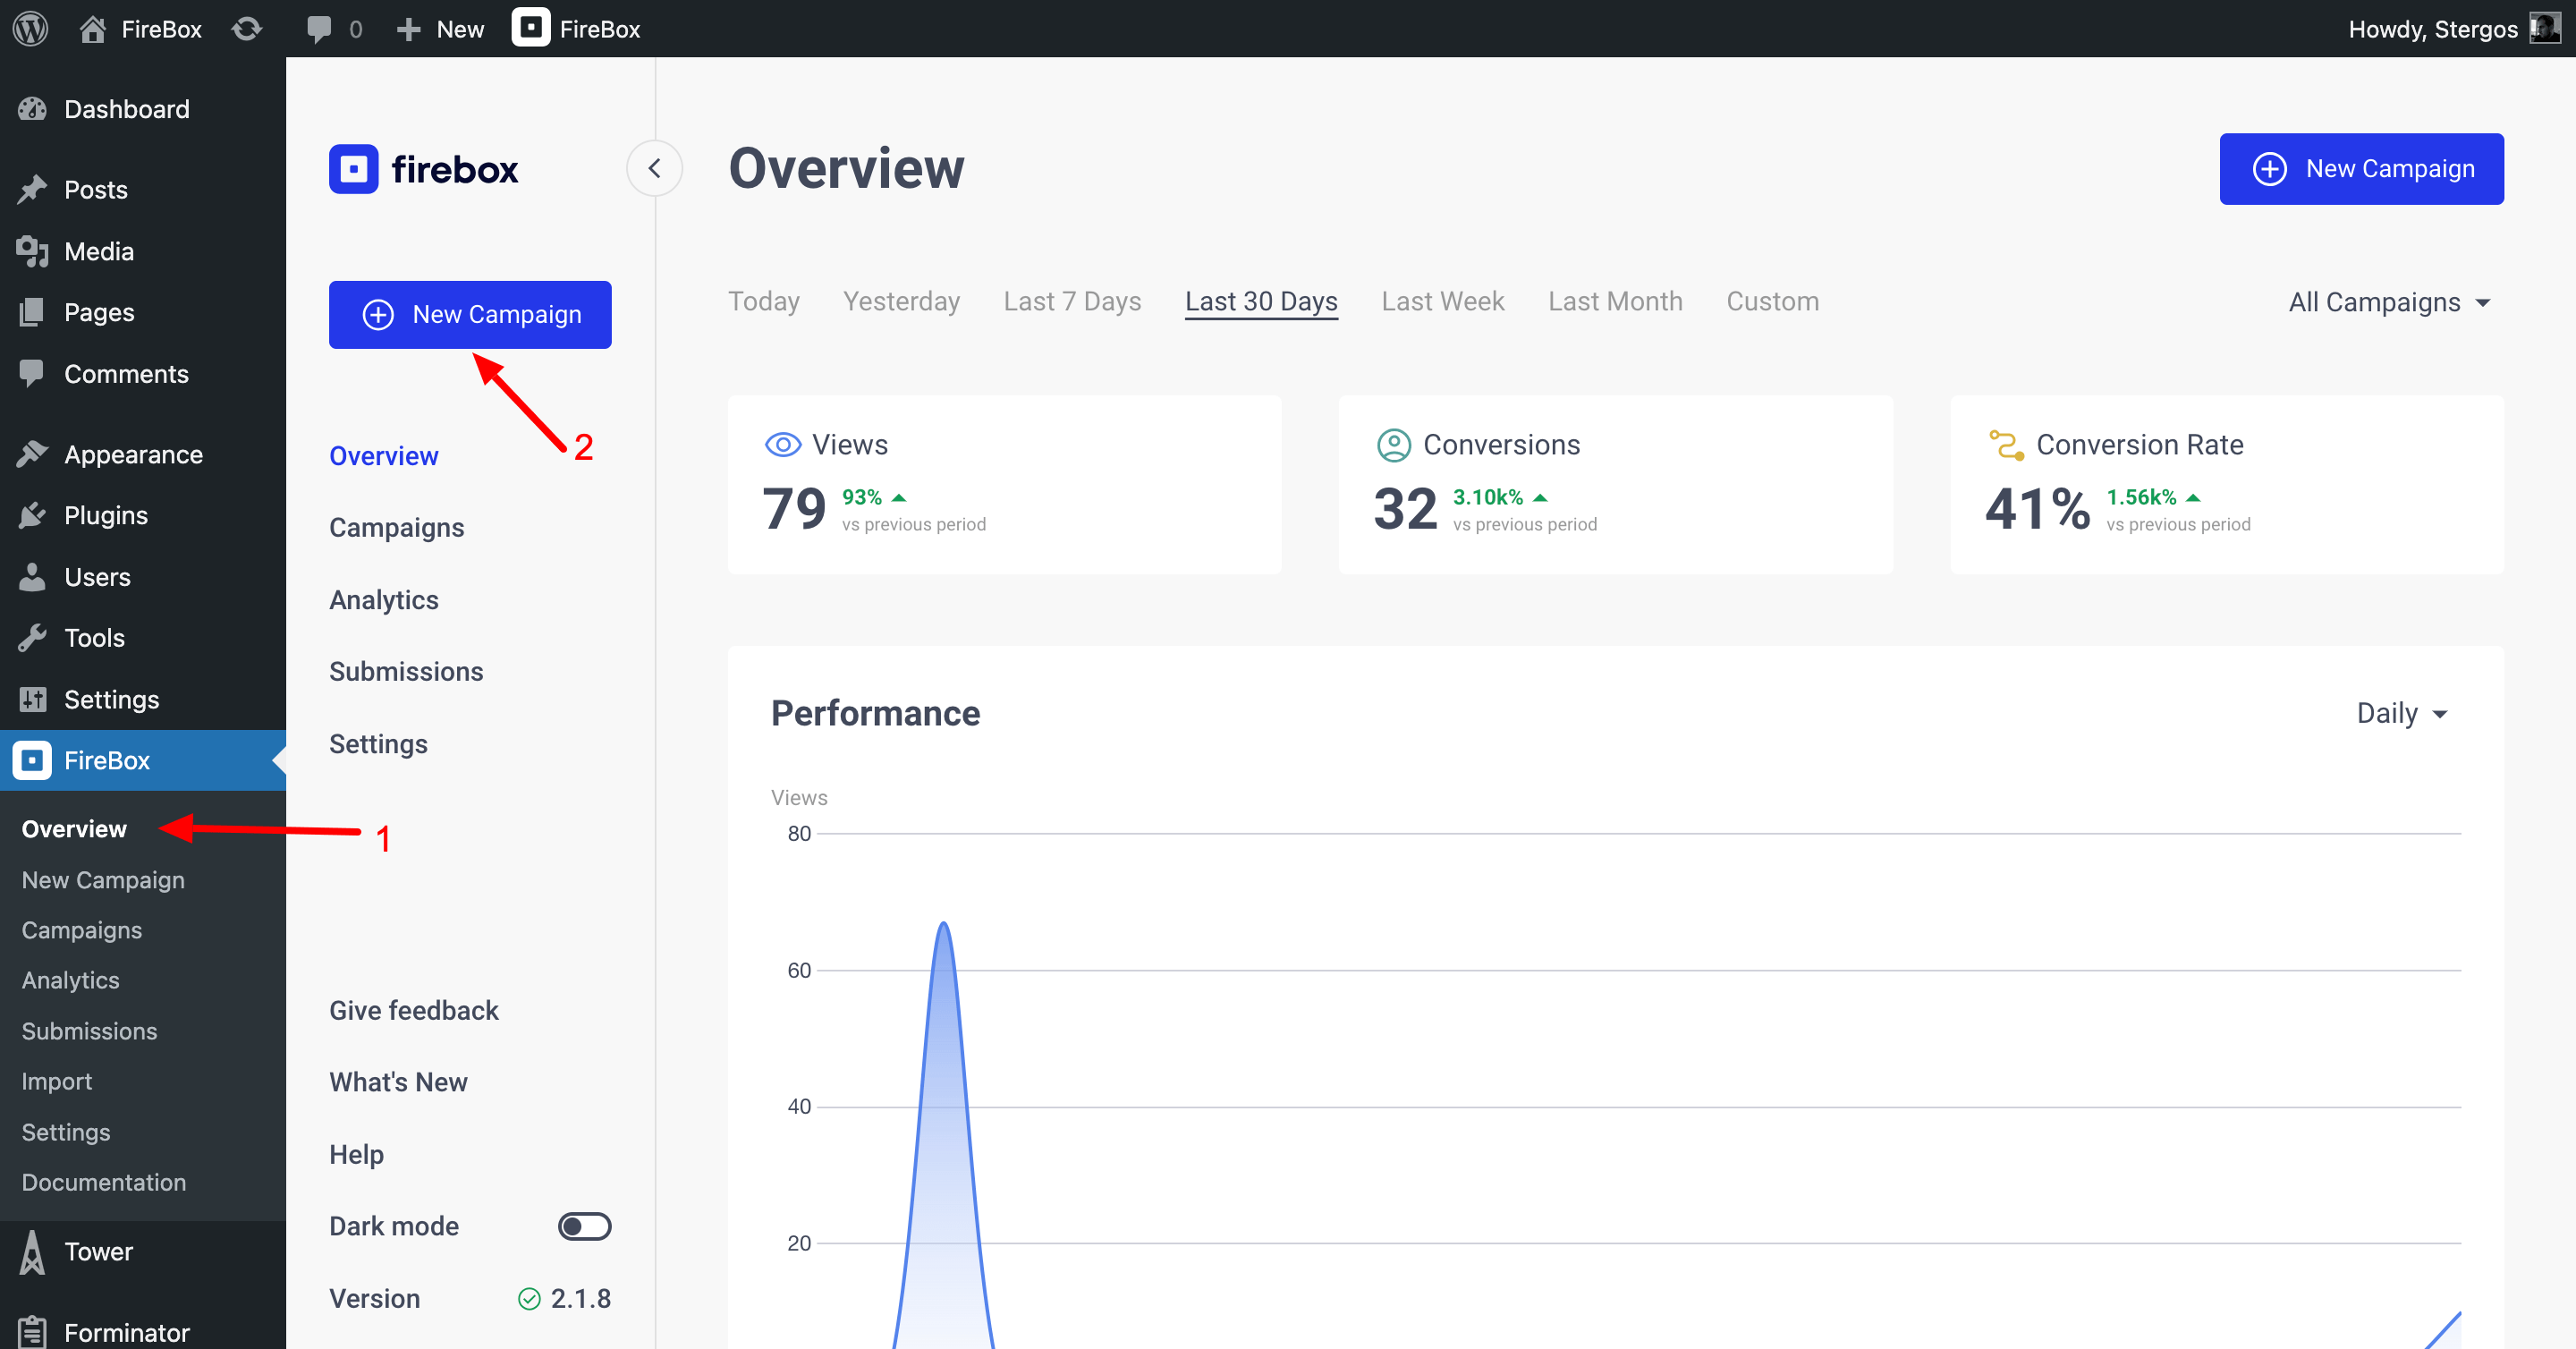
After the plugin activation, go to the FireBox dashboard and click New Campaign.
Next, customize your campaign with the text you'd like your visitors to see instantly, whether it's a discount message, signing up for the newsletter, or anything else you want to highlight on your website.
After you’re set, let's start customizing your popup!
Step #3: Customize your popup
Customizing your WordPress popup is easy with FireBox! You don't need any code to style your popup since our campaign builder has an option for popup size, padding, margin, and other style attributes. You don’t need custom CSS or other coding-related options to style your popup. Just enter the value into the input box provided. Now, let's start.
Locate the FireBox settings on the right-hand side of the campaign editor. After that, you will see all the available settings, like in the picture below. You can get started by customizing the popup's width and height.
The padding, margin, text color, and other settings are also grouped under the Design tab. You can personalize those settings according to your preference. FireBox has no limits! You could also customize it depending on the device you will be using using Display Conditions.
On Page Load Popups Attract visitor attention and boost conversions by automatically triggering a popup on page loadAdding blocks to your popup window is also convenient when you use FireBox. All you need to do is click the add button and browse all the available blocks you can embed in your popup. From forms to videos, FireBox provides it all. Also, integrating links into your forms or buttons is simple.
To add a block to your popup, drag and drop it.
If you want to add an image as your background in your popup, you can do that with FireBox. Head over to the Design panel, enable "IMAGE AS BACKGROUND", and upload the image you want to set as your popup background.
After customizing your popup, you can preview it by clicking the preview button in your block editor. You can also check if your WordPress popup still needs a minor adjustment.
Step #4: Displaying the popup on Page Load
To have the popup appear on page load, go to the Format panel and select Page Load as your popup trigger under "Trigger". Other triggers can also be used if you want to experiment with FireBox's different popup functions, but Page Load is the most commonly used.
Delay. The delay refers to when your popup will fire after the page loads.
Step #5: Publish your popup
If you are satisfied with your popup and all is set, it's time to publish it on your site! Just click the publish button on your block editor, and you're all done publishing your popup using our popup builder, FireBox.
Tip: If you want to edit your popup, go to your FireBox Dashboard > Campaigns.
On Page Load Popups Attract visitor attention and boost conversions by automatically triggering a popup on page loadAside from installing the FireBox plugin into your WordPress, there are no more complicated steps. To display your popup on your desired page within your website, head to the Display Conditions Panel, and use the Page, or URL conditions.
After you've published your popup, you can keep track of how many impressions it received and how many visitors it attracted. You may also verify it in the FireBox Dashboard > Campaigns.
Why choose FireBox as your popup maker?
With FireBox, you can create a simple yet effective popup that could boost your conversion rates quickly. Its user-friendly functionality and wide customization accessibility add up to its advantages. It comes up with an extensive list of hassle-free widgets you can use! That’s why our users prefer using our plugin.
So what are you waiting for? Try FireBox on your WordPress site now! To learn more about The Page Load trigger and how it works, click here.
Get FireBox for Free
Enter your WordPress website URL to install instantly.
Trusted by 9,000+ users
0 Comments