
The cheapest growth in your WooCommerce store is the customers you already have. Retaining a customer can cost 5 to 25 times less than acquiring a new one (Harvard Business Review, 2014), and a repeat buyer already trusts you, so the next sale takes far less convincing. Customer lifetime value (CLV) is the metric that captures this: the total revenue you can expect from one customer over the whole relationship.
This guide is the hub for raising that number. It covers what CLV is, the post-purchase strategies that lift it, and how to prove they worked, with a deeper guide linked for each. It sits inside our broader playbook on how to increase WooCommerce sales: recover the cart, raise its value, then keep the customer coming back. This is the keeping part.
- What is customer lifetime value (CLV)?
- Post-purchase strategies to raise CLV
- Implementing Your Post-Purchase Strategies: A Step-by-Step Guide
- Step 1: Download FireBox Pro
- Step 2: Install FireBox Pro
- Step 3: Activate FireBox Pro
- Step 4: Create a New FireBox Campaign:
- Step 5: Choose Your Campaign Type and Design:
- Step 6: Set Up "Thank You" Page Display Conditions:
- Step 7: Add WooCommerce Product-Specific Conditions:
- Step 8: Configure Timing and Frequency (Optional, but Recommended):
- Step 9: Review and Publish Your Campaign:
- How to measure CLV and prove it is working
- Common CLV mistakes to avoid
- Conclusion
- FAQ
What is customer lifetime value (CLV)?
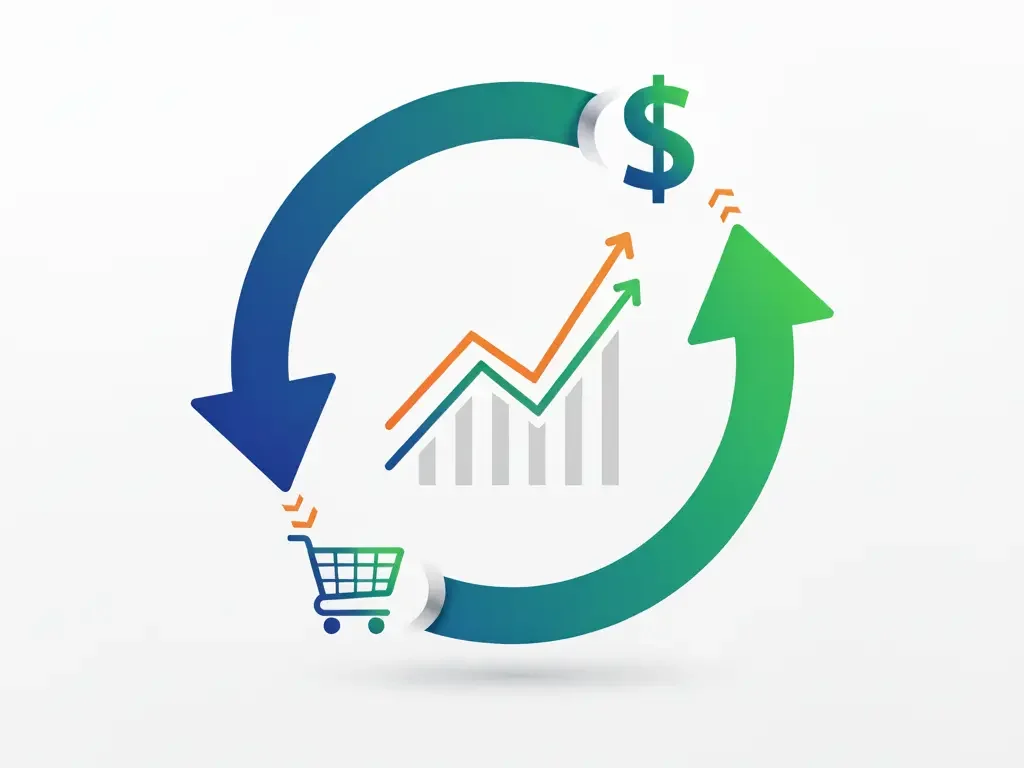
Customer lifetime value is the total revenue a customer brings over their entire relationship with your store, not just their first order. A rough way to estimate it: average order value, multiplied by how often a customer buys per year, multiplied by how many years they stay. If your average order is $50, a customer buys three times a year, and stays two years, that customer is worth about $300, not $50.
That framing changes how you spend. When a customer is worth $300 over time, the effort to earn a second and third order pays off far more than chasing a stranger for one $50 sale. Lifting any of those three levers, bigger orders, more frequent orders, or a longer relationship, raises CLV. The strategies below work on all three.
Grow the value of customers you already have FireBox targets returning and logged-in customers with offers based on their real purchase history, so your best customers see the right reason to come back.Post-purchase strategies to raise CLV
Each of these uses targeting to reach the right customer at the right moment. One honest note up front, because it shapes how every one of them works: FireBox is an on-site tool. Purchase-history targeting (total spend, last purchase date, purchased products) works for logged-in or known customers only, since your store has to recognize who they are, and these offers appear when those customers are on your site. To reach a lapsed customer in their inbox, FireBox captures and syncs the contact to your email tool, and the email tool sends the message. FireBox does not send the emails itself.
1. Upsell on the thank-you page
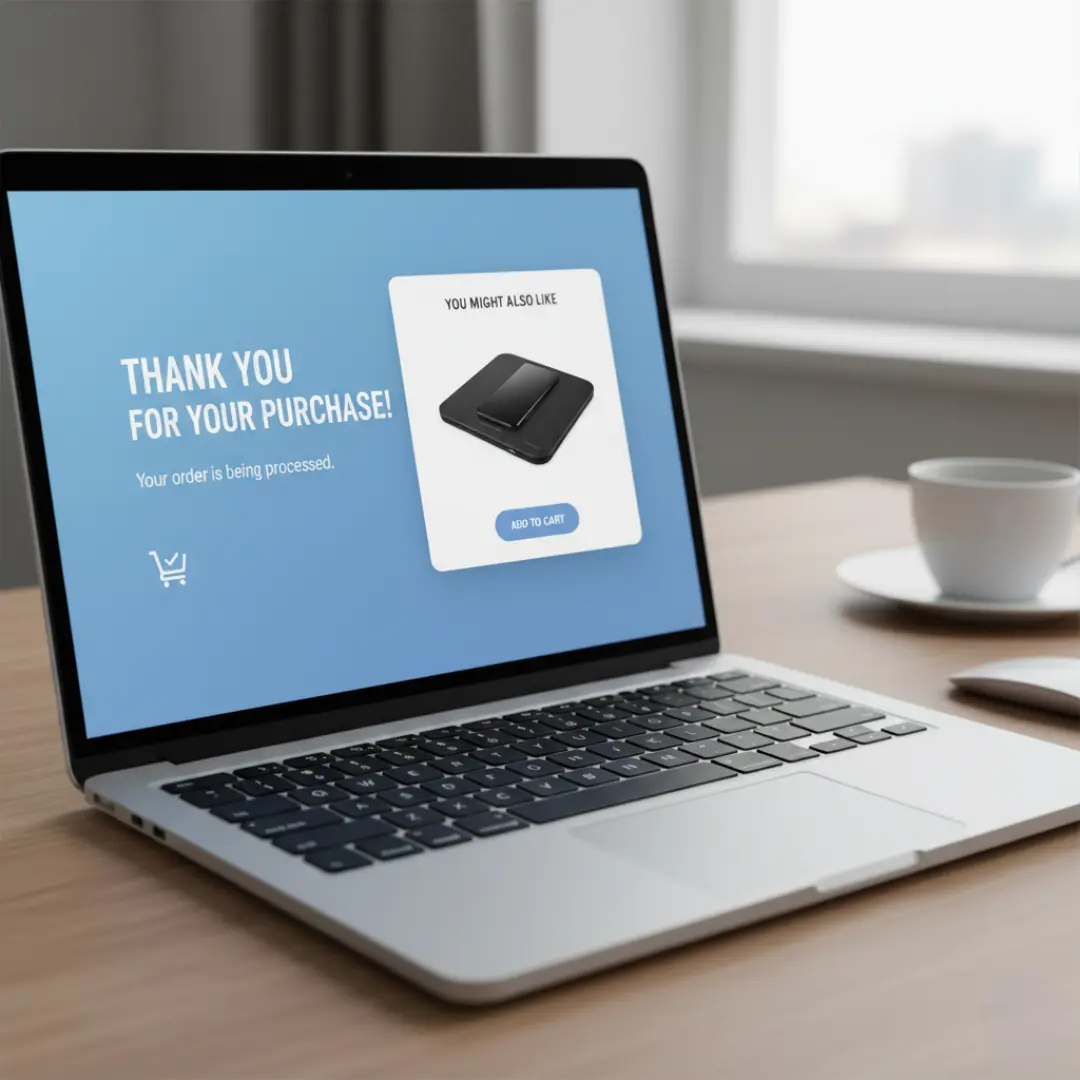
The order-received page is prime real estate: the customer just bought, trust is high, and a relevant add-on feels like a helpful suggestion. Target it with the purchased-product condition so the offer matches what they just bought (a lens cleaning kit after a camera, say), and add a countdown for a limited-time second-order discount. This pairs naturally with increasing average order value, which covers the offer mechanics in depth.
2. Win back lapsed customers
Use the last-purchase-date condition to define "lapsed" (say, no order in 90 days) and show a win-back offer when that customer returns to your site and is recognized. For customers who do not come back on their own, the outreach happens by email: FireBox captures and syncs the contact, and your email tool like Klaviyo sends the win-back sequence. The on-site offer and the email work together; FireBox handles the capture and the on-site moment.
3. Reward your VIPs and top spenders
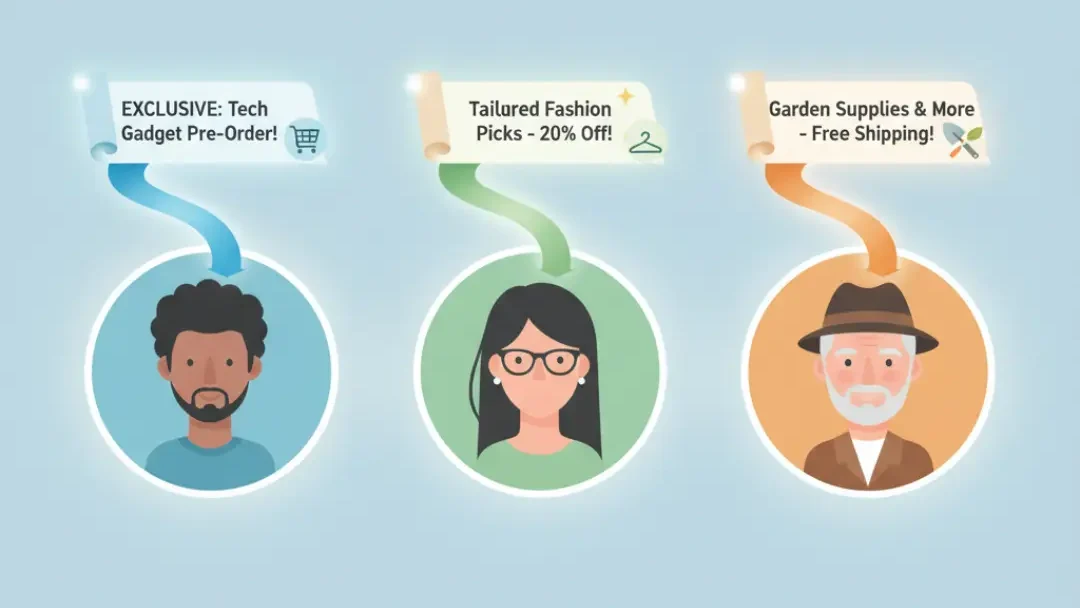
Recognizing your best customers protects their spend. With the total-spend condition you can show an exclusive offer only to customers who have passed a spending milestone, for example early access to new arrivals for anyone over $500. The discount is a code you create in WooCommerce; FireBox displays it to the right segment. Remember the logged-in caveat: this targets known customers.
Reward your best customers automatically FireBox shows VIP and win-back offers to customers based on their total spend and last order, so loyalty gets recognized without manual list-building.4. Bring returning visitors back into the flow
Not every returning shopper is logged in, so for anonymous-but-returning visitors, target by new-vs-returning status instead of purchase history. A friendly "welcome back" offer re-opens the relationship without needing to know who they are. Our guide on the welcome back popup for returning visitors walks through it.
5. Reduce friction for repeat buyers with a login prompt
Repeat customers buy faster when their details and order history are one click away. A well-placed login prompt smooths the path to a second purchase and makes purchase-history targeting possible (because the customer is now recognized). See our guide on the WooCommerce login popup.
6. Ask for reviews and referrals at the right moment
Happy customers are your best marketing. A few days after purchase, a non-intrusive slide-in can ask for a review, and your top spenders or repeat buyers are the natural audience for a referral offer. Timing matters: trigger these off the last-purchase-date so you ask once the customer has actually used the product. This builds the social proof that helps convert new visitors into customers.
Implementing Your Post-Purchase Strategies: A Step-by-Step Guide
The tutorial below uses FireBox, an on-site marketing tool built for WooCommerce. It reads your site like a store: campaigns can see what's in the cart, what it's worth, what the shopper bought before, and which product they're looking at, and they can fire at the exact moment someone moves to leave. With Revenue Attribution, every campaign reports the WooCommerce revenue it brought back.

FireBox offers multiple triggers, such as on page load, exit-intent, scroll, and click, giving you precise control over when the popups appear. It also supports personalized and targeted popups with display conditions based on Device, Referrer, Page, URL, Cookie, Geolocation, Datetime, and even conditions for WooCommerce.
Step 1: Download FireBox Pro
The very first step is to get a license for FireBox Pro. Then, after purchasing FireBox Pro, you can access the Pro version.
- Go to fireplugins.com/downloads/
- Login with the details you received in the email after the purchase.
- Click Download in the Pro Downloads section.
Step 2: Install FireBox Pro
After downloading the FireBox Pro installation zip file, upload it to your site.
- Head to your WordPress dashboard and click on Plugins > Add New.
- Choose the zip file you have just downloaded. Click on install.
- Once the plugin is installed, click the Activate Plugin button to activate the plugin on your site.
Step 3: Activate FireBox Pro
After installing FireBox Pro, you must activate your license to ensure you receive automatic updates from the plugin. To learn more about creating and managing your license keys, click here.
If you need any help with the installation process, see the documentation on installing FireBox Pro for help. If you're already using FireBox Lite, you can easily upgrade from Lite to Pro. However, after upgrading to Pro, you must also activate your license to ensure you receive automatic plugin updates.
Step 4: Create a New FireBox Campaign:
From your WordPress dashboard, navigate to FireBox and click New Campaign and select "Blank Template".
Give your campaign a clear, descriptive name, such as "Thank You Page Upsell - [Product Name]".
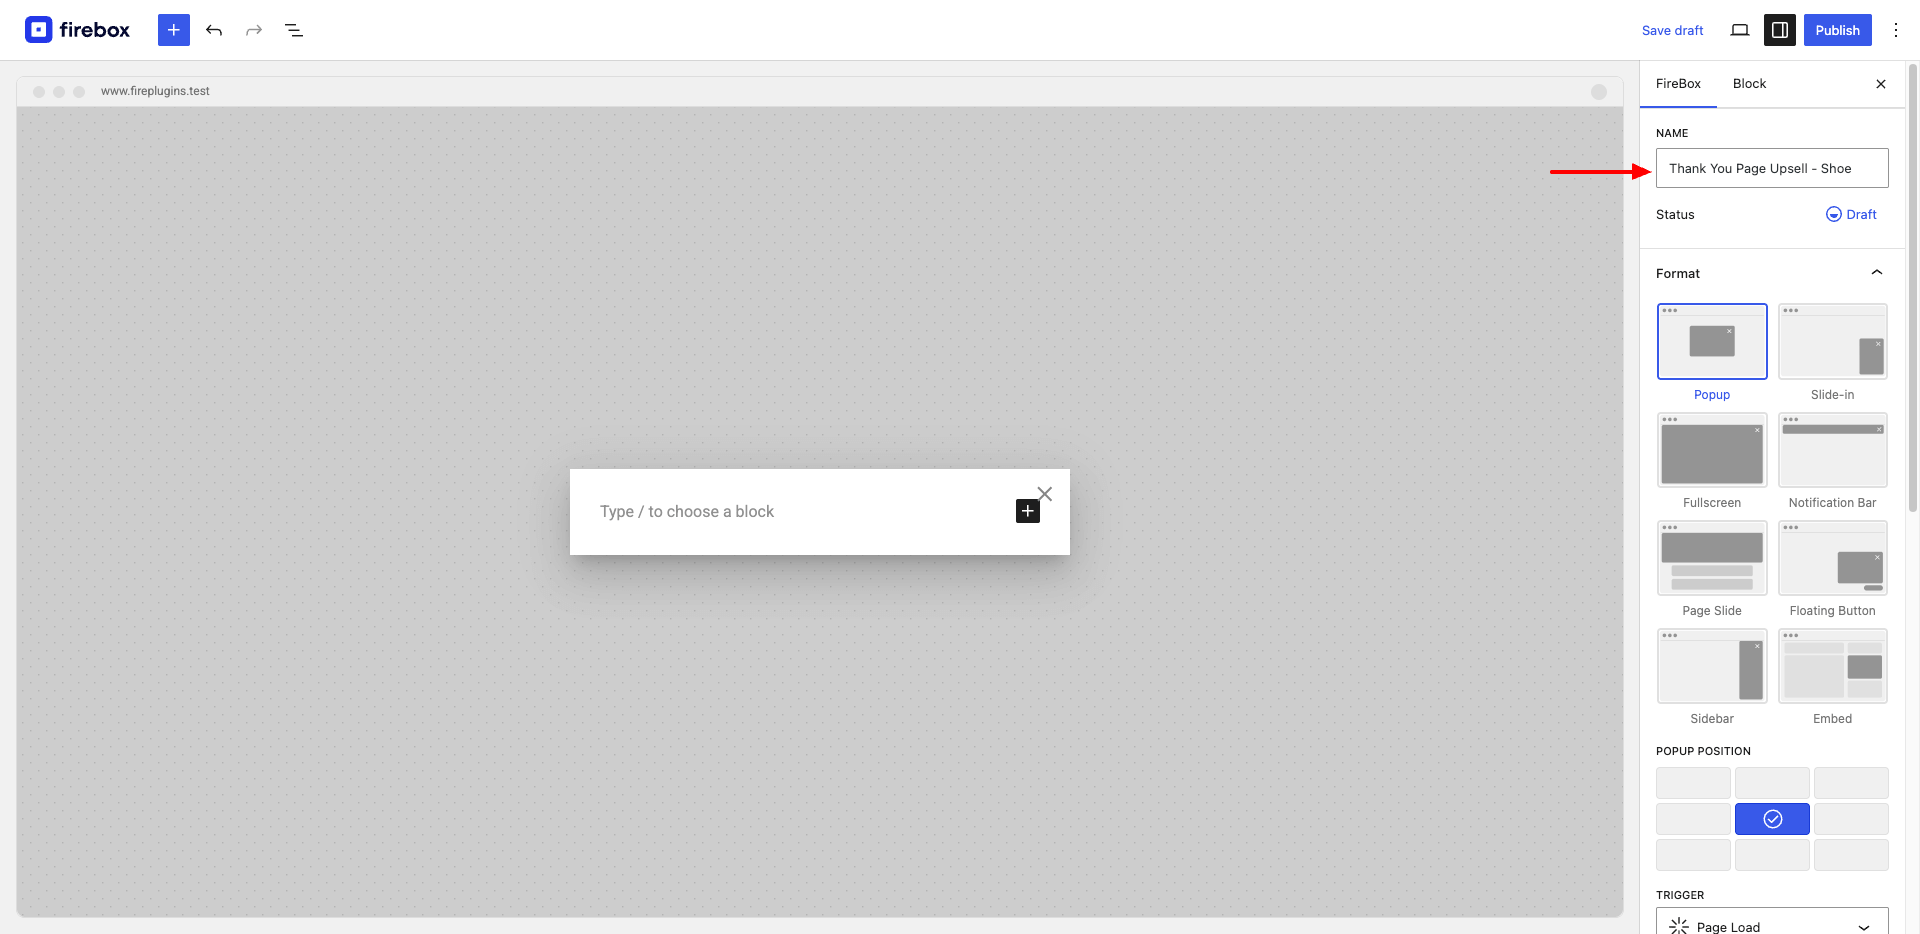
Step 5: Choose Your Campaign Type and Design:
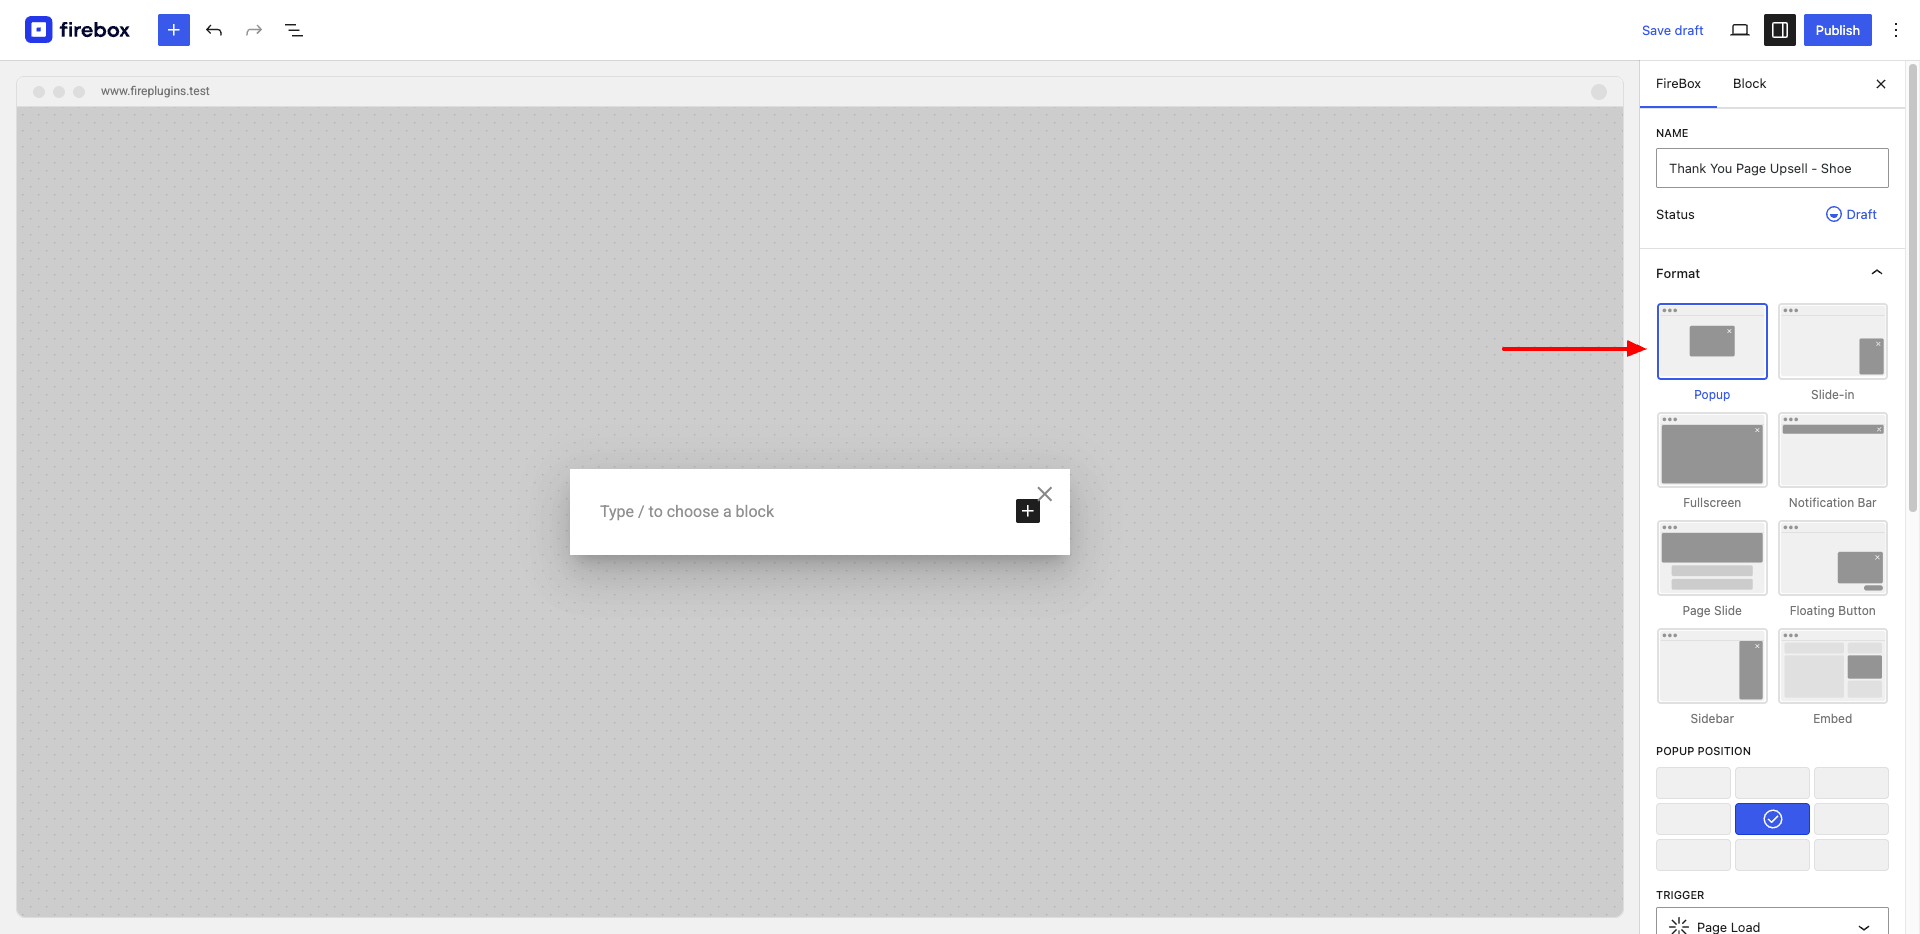
On the right-hand sidebar, under the Format panel, choose a campaign format that best suits your offer, like a classic Popup popup or a Slide-in.
Use the visual editor to design your offer. Include a compelling headline, an image of the upsell product, a persuasive description, and a clear call-to-action button linking directly to the product page.
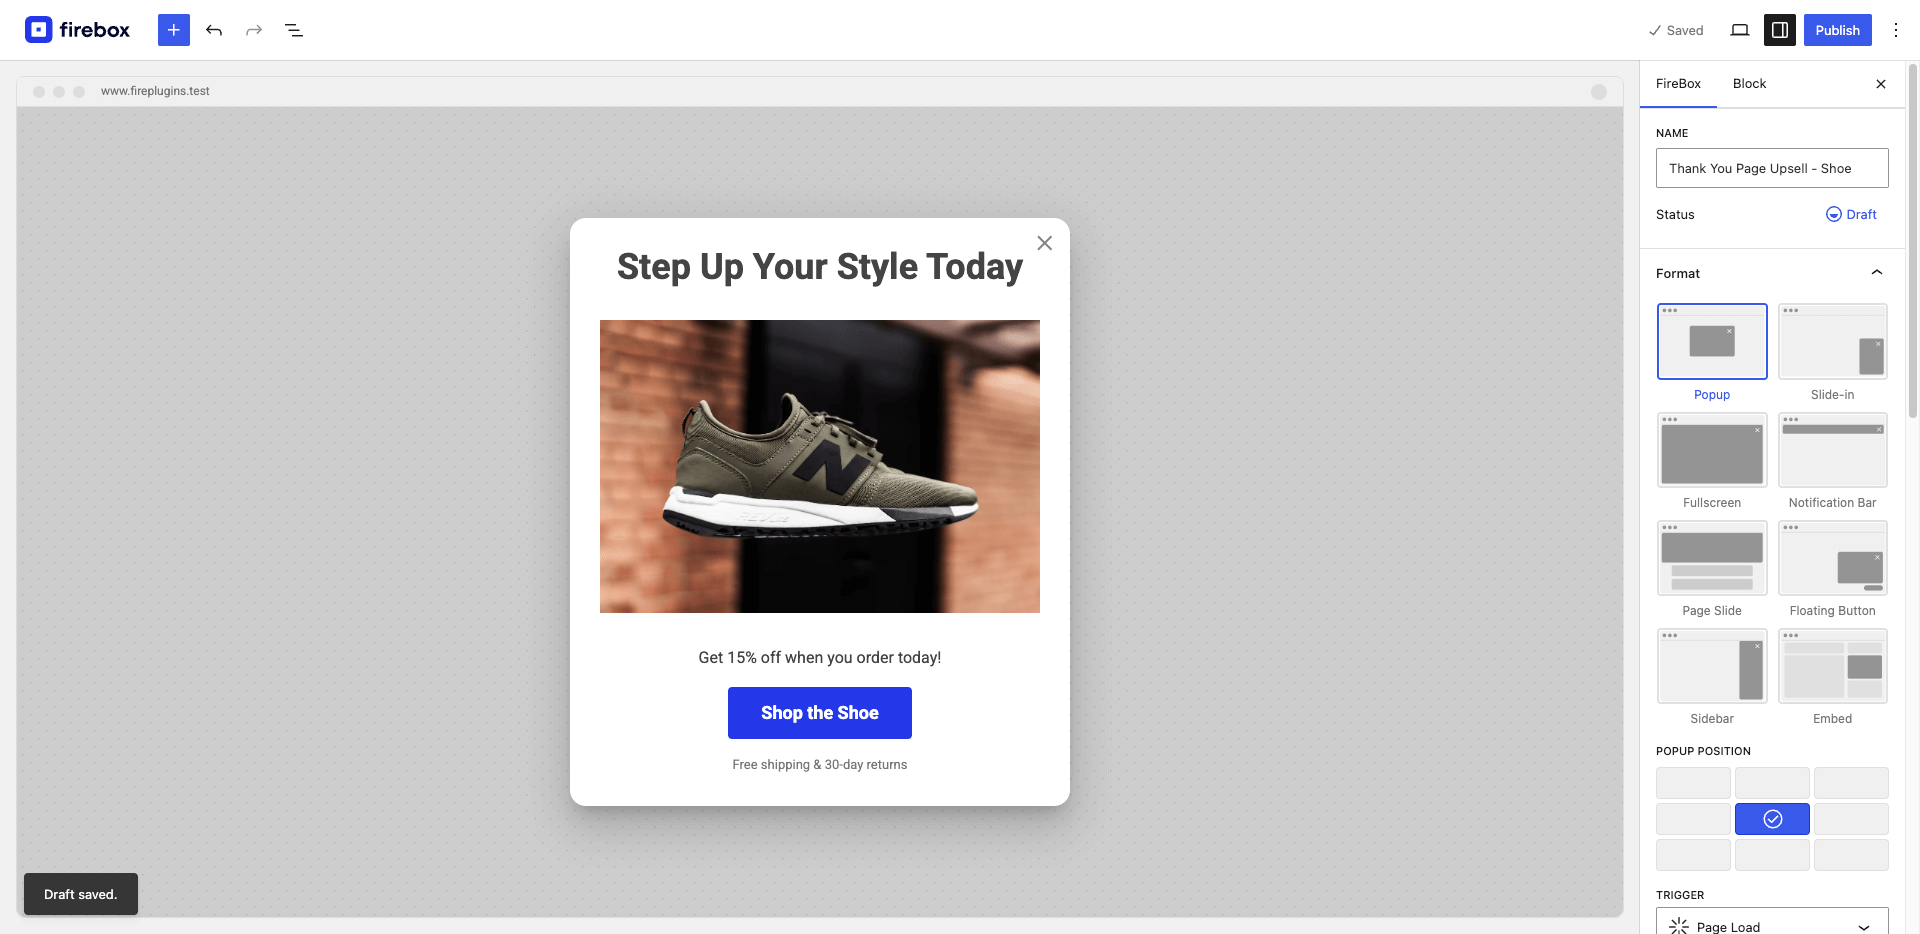
Tip for Personalization: You can use FireBox Smart Tags here for more personalization.
Step 6: Set Up "Thank You" Page Display Conditions:
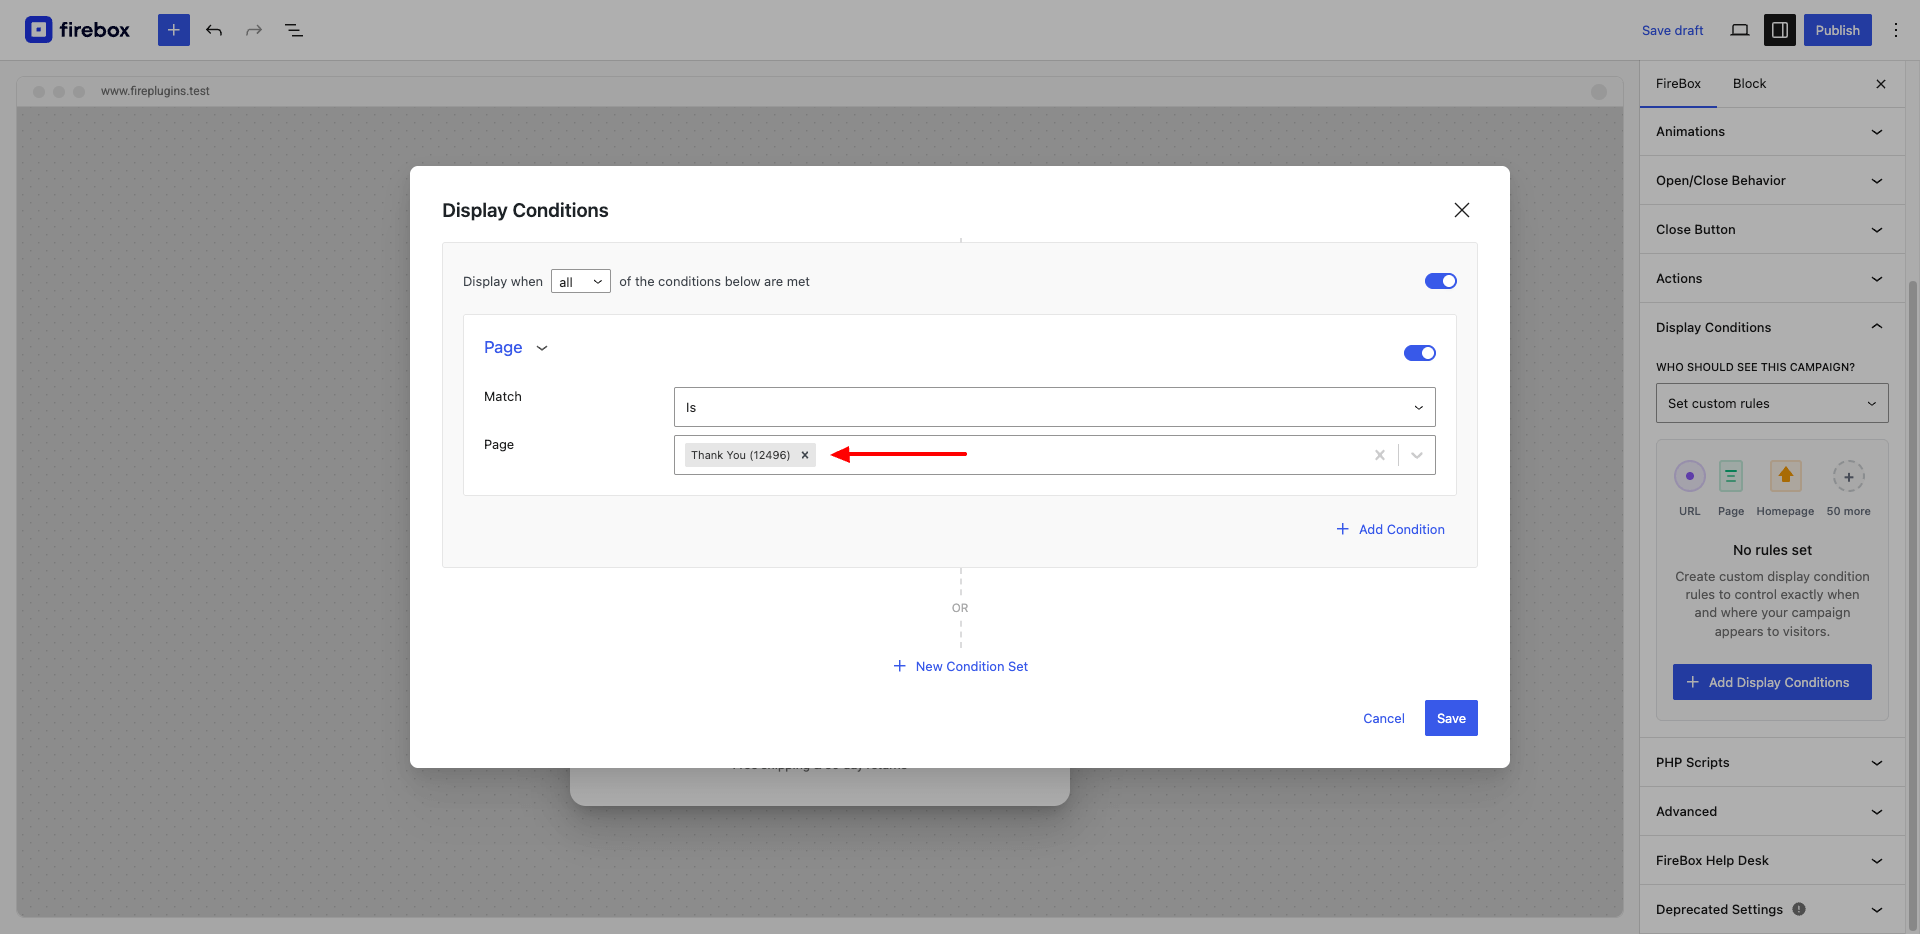
From the right-hand sidebar, open the Display Conditions panel to set up when your popup campaign should appear to your website visitors.
Use the Page Display Condition, and select the Thank You Page. This ensures the popup only appears immediately after a successful purchase.
Step 7: Add WooCommerce Product-Specific Conditions:
To make the upsell personalized, you need to target customers who bought a specific product.
Click Add Condition and select the WooCommerce Purchased Product condition.
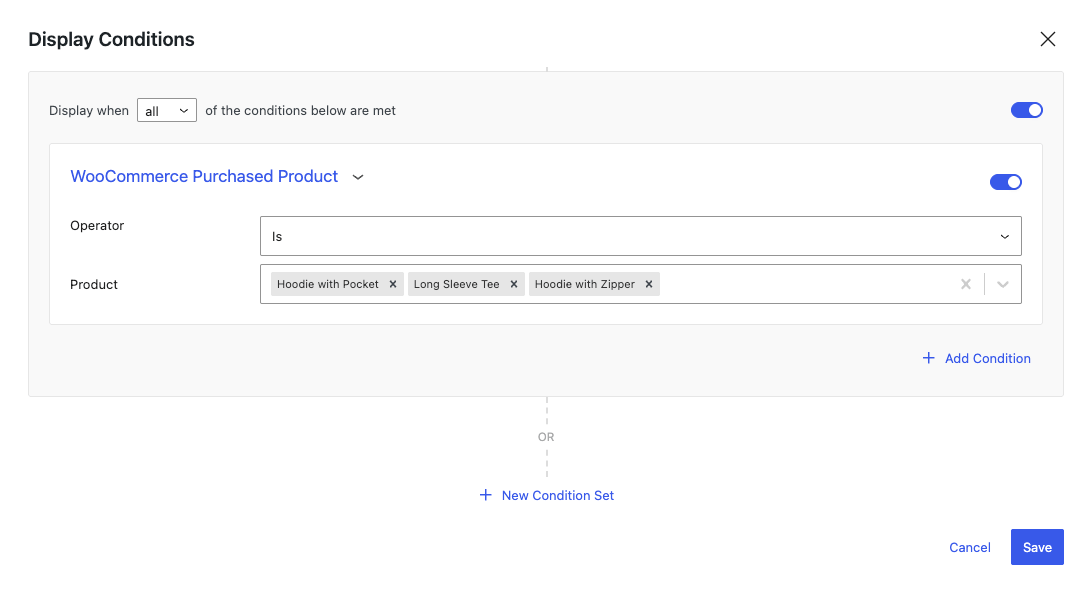
In the condition settings, choose is and then search for and select the exact product (e.g., "Premium Coffee Mug") that, when purchased, should trigger this specific upsell.
Example: If someone buys a "Premium Coffee Mug," you might upsell a "Gourmet Coffee Bean" subscription.
Step 8: Configure Timing and Frequency (Optional, but Recommended):
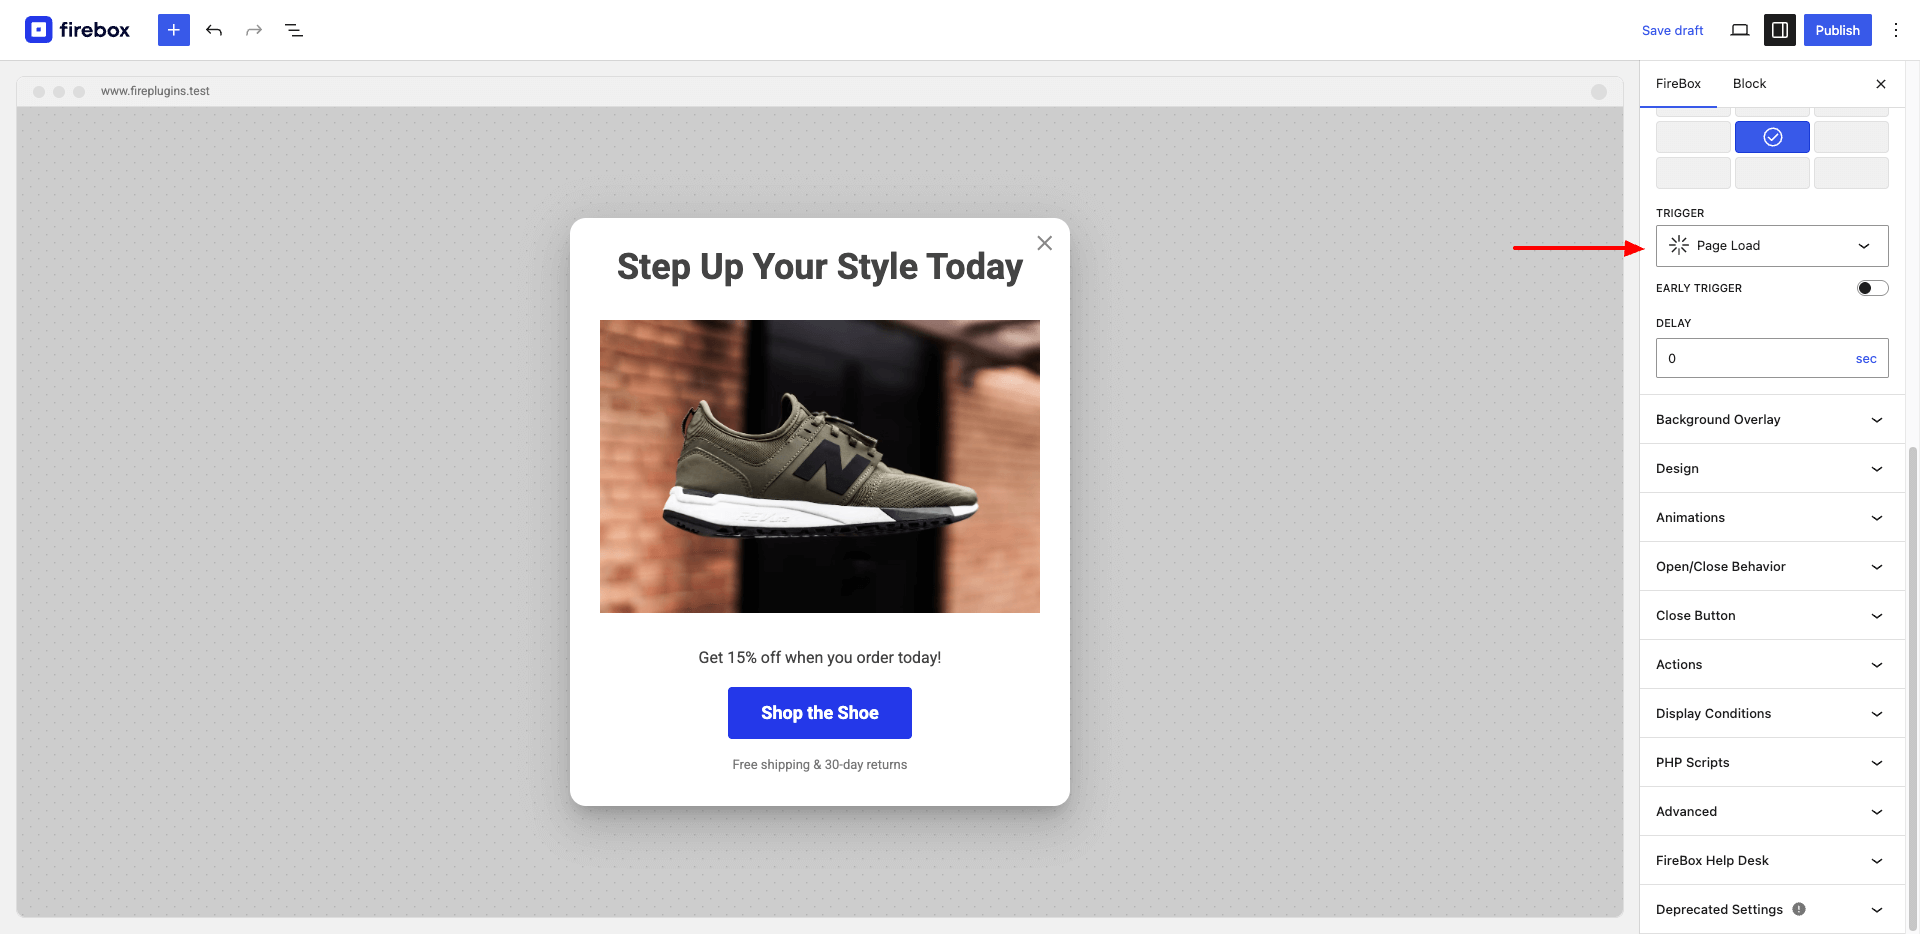
Next step is to specify how the popup should appear (triggered) to your website visitors. Under the Triggers panel, select the Page Load trigger, which is generally suitable for "Thank You" page offers.
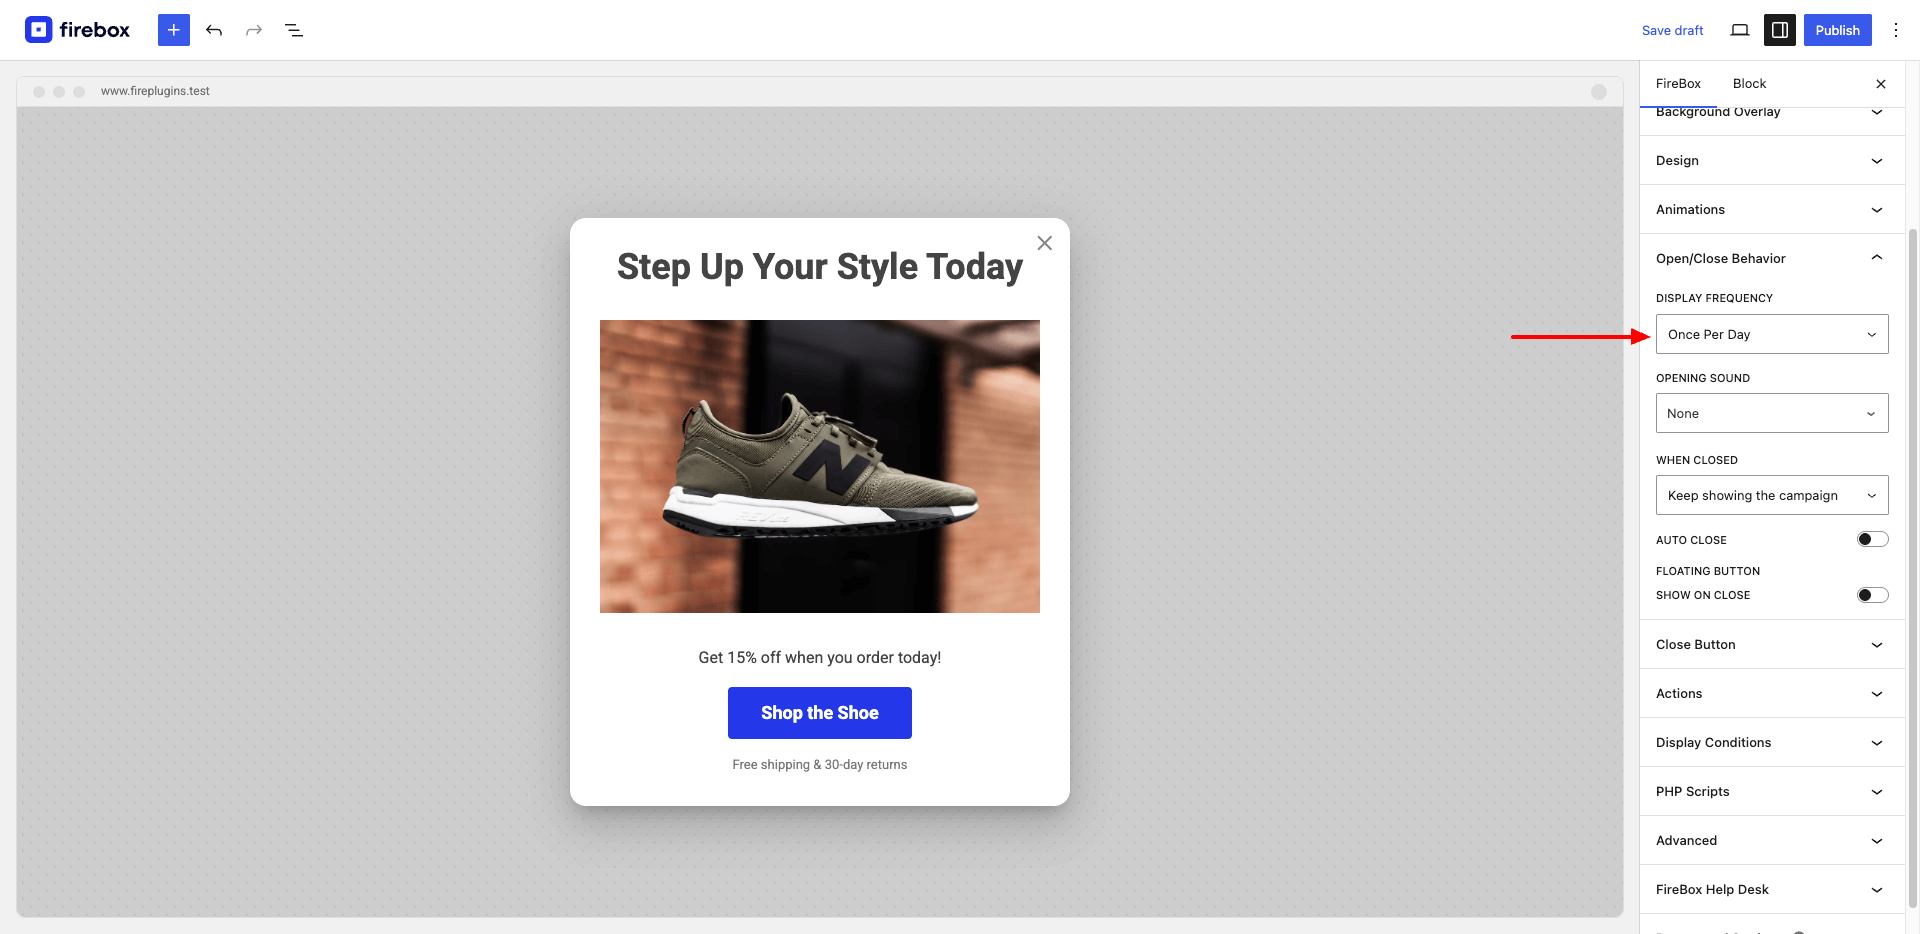
Consider setting a Display Frequency rule under the Open/Close Behavior tab, such as "Once per session" or "Once per day," to avoid annoying repeat buyers.
Step 9: Review and Publish Your Campaign:
Always use the Preview option to see how your popup will look and function.
Once you're satisfied, click Publish. Your personalized post-purchase upsell campaign is now live, working to increase woocommerce sales and improve your customer lifetime value woocommerce.
By following these steps, you can create highly targeted and effective post-purchase campaigns that engage your customers at the most opportune moments, turning one-time buyers into loyal patrons who contribute significantly to your overall customer lifetime value woocommerce. Remember to continuously A/B test different offers and designs to refine your strategies for maximum impact.
How to measure CLV and prove it is working
Track a handful of metrics beyond raw sales so you can see retention improving:
- Customer lifetime value: your headline number, watched over time.
- Repeat purchase rate: the share of customers who buy a second time.
- Customer retention rate: the share you keep over a period.
- AOV of repeat customers: whether upsells are lifting repeat-order size.
- Churn rate: how fast customers stop buying.
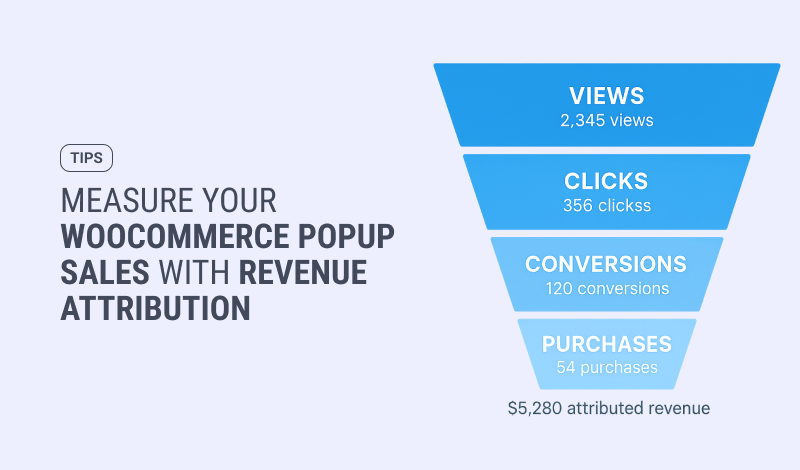
To connect these strategies to actual revenue, WooCommerce revenue attribution ties completed orders back to the campaign that influenced them (Pro and Growth), so you can see which retention offers earned and which to drop. Refine the winners by A/B testing your campaigns.
Common CLV mistakes to avoid
- Being generic. A post-purchase offer that ignores what the customer just bought feels like spam. Personalize with the purchased-product condition.
- Over-messaging. Bombarding repeat buyers with popups erodes the loyalty you are trying to build. Cap frequency and target tightly.
- Treating on-site as outreach. On-site offers only reach customers who visit. For lapsed customers who do not return, the email tool does the outreach, not FireBox.
- Not measuring. If you cannot see which retention offer earned, you cannot scale it. Use revenue attribution.
Conclusion
Raising customer lifetime value is the most efficient growth a WooCommerce store has, because it compounds the customers you already paid to win. Lift order size, order frequency, and relationship length with targeted post-purchase offers: a thank-you-page upsell, a win-back for lapsed buyers, VIP recognition, a welcome back for returning visitors, and a smoother repeat-purchase path. Keep the targeting honest (logged-in for purchase history, on-site offers plus email outreach), then use revenue attribution to prove which plays earned and double down. That is how one-time buyers become your most valuable customers.
FAQ
What is a good customer lifetime value in WooCommerce?
There is no universal number; a good CLV is one rising against your own baseline. Estimate it as average order value times purchase frequency per year times the average customer lifespan in years, then track whether your retention strategies move it up over time.
How is customer lifetime value different from average order value?
AOV measures a single order; CLV measures every order a customer places over the whole relationship. AOV is one lever inside CLV: raising it helps, but so do buying more often and staying a customer longer. You grow CLV by improving all three.
Can FireBox target customers who have not bought in a while?
Yes, with a caveat. The last-purchase-date condition can show a win-back offer to a lapsed customer when they return to your site logged in. To reach someone who does not come back on their own, FireBox syncs the contact to your email tool, which sends the outreach; FireBox is on-site, not an email sender.
Does purchase-history targeting work for all visitors?
No. Total-spend, last-purchase-date, and purchased-product targeting work for logged-in or known customers only, because your store must recognize the shopper. For anonymous visitors, target by new-vs-returning status, cart contents, or the product on screen instead.
Get FireBox for Free
Enter your WordPress website URL to install instantly.
Trusted by 9,000+ users

0 Comments