


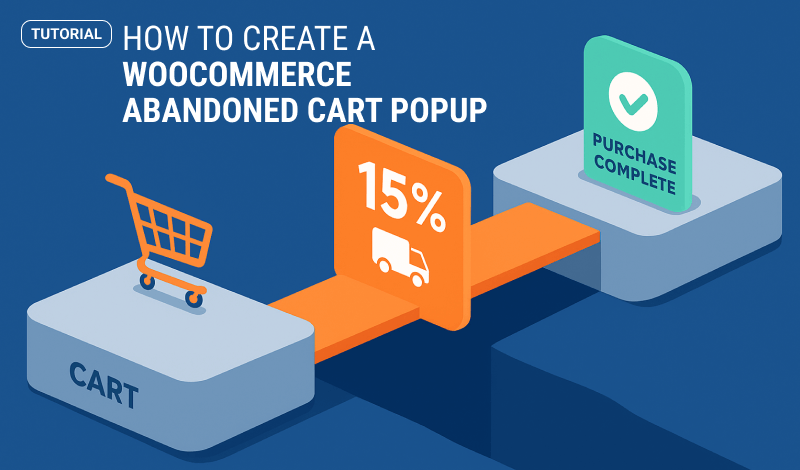
It’s a frustrating moment for every WooCommerce store owner: a customer browses your products, adds items to their cart, proceeds to checkout, and then vanishes. This isn't a rare occurrence; studies show that nearly 70% of online shopping carts are abandoned. A high WooCommerce abandoned cart rate can feel like a leak in your revenue bucket. While you can't stop every visitor from leaving, you can recover a significant portion of them with the right strategy.
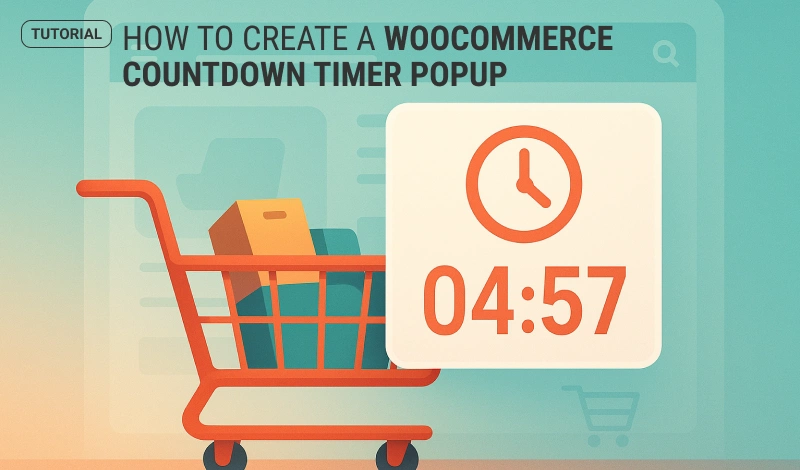
Many sites use generic popups, but these often fail because they are not tailored to the user's specific situation. The key is to present the right offer at the exact moment a customer is about to leave the cart or checkout page. A targeted WooCommerce abandoned cart popup is one of the most effective tools for this job. To truly maximize impact, consider how a well-crafted WooCommerce countdown timer popup can further reduce abandoned carts and recover lost sales.
In this guide, I'll walk you through not just the technical steps of setting up an exit-intent popup, but also the strategy behind creating an offer that genuinely converts hesitant shoppers into happy customers. You will learn how to pinpoint the exact moment of abandonment and deliver a compelling reason for your visitors to complete their purchase.
Why a Standard Popup Isn't Enough
Before we build our popup, it’s important to understand why a targeted approach is necessary. A generic "10% Off!" popup that shows to every visitor on every page is easy to ignore. It feels impersonal and can even be disruptive.
An effective abandoned cart popup, however, is all about context. It works because it combines two critical elements:
- The Right Moment (Exit-Intent): The popup only appears when a user's mouse movements indicate they are about to leave the page (exit intent), such as moving towards the close button or address bar. This is a critical instant when they have shown interest but are having second thoughts.
- The Right Place (Page Targeting): The offer is only displayed on the pages that matter most in the buying journey: the cart and checkout pages. A user abandoning these pages is much further along than someone just browsing a product page, making them a high-value target for a recovery offer.
By combining these, you move from interrupting users to providing a timely, helpful incentive.
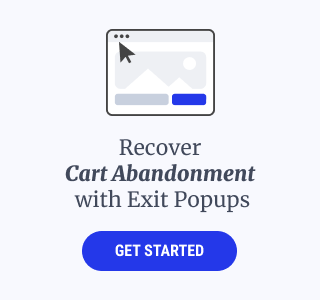
Recover More WooCommerce Sales Use exit-intent popups to stop abandoned carts.What to Offer in Your Abandoned Cart Popup
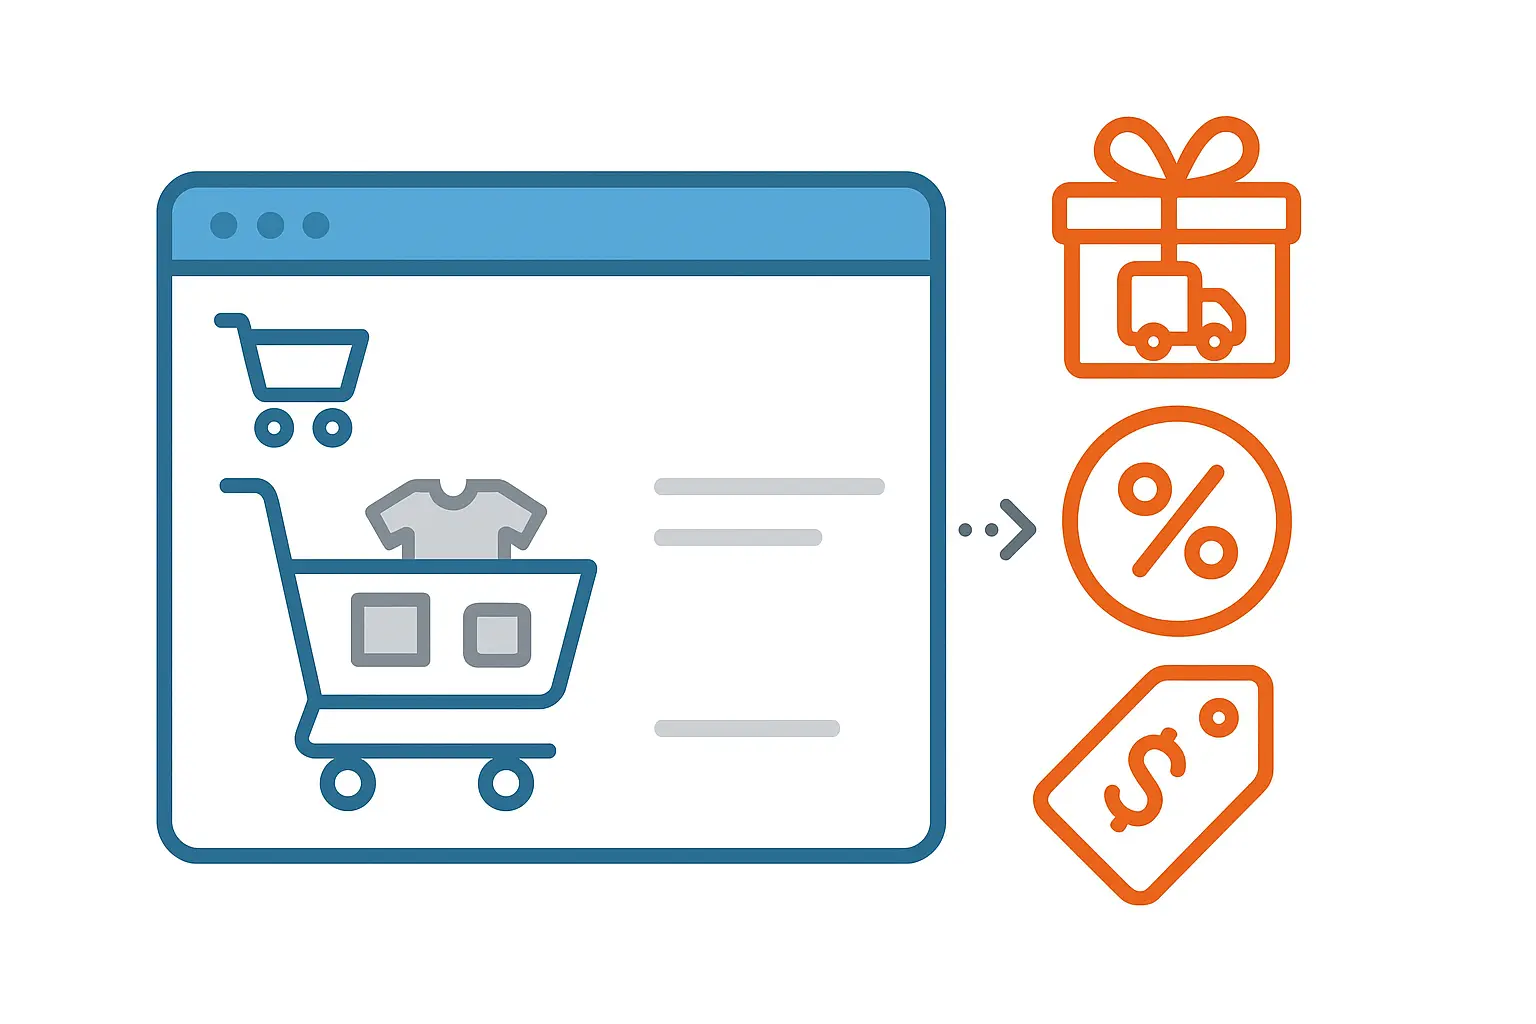
The success of your popup depends heavily on the offer. Your goal is to address the most common reasons for abandonment, which are often related to unexpected costs or a simple lack of urgency.
Here are the most effective offers, ranked by impact:
- Free Shipping: Unexpected shipping costs are the number one reason for cart abandonment. If you don't offer free shipping store-wide, offering it in an exit-intent popup can be an incredibly powerful motivator.
- A Percentage Discount (e.g., 15% off): This is a classic for a reason. It directly addresses price sensitivity and provides a clear, immediate benefit for completing the purchase.
- A Fixed-Amount Coupon (e.g., $10 off): This can sometimes feel more tangible than a percentage. It works especially well if your average order value is high enough that $10 represents a meaningful discount.
- A Reminder of Your Return Policy or Guarantee: Sometimes, the hesitation isn't about price but about risk. A popup reminding customers of your "30-day no-questions-asked return policy" can provide the peace of mind they need to click "Buy."
Start with one of these and test its performance. The key is to offer something that provides undeniable value and makes the decision to stay and purchase an easy one.
How to Create Your WooCommerce Abandoned Cart Popup
Now, let's build it. In this tutorial, I'll show you how to set up a smart exit-intent popup using the best exit-intent popup plugin. The same principles will apply to any professional popup tool that offers exit-intent triggers and WooCommerce-specific display conditions.
Before you can begin the tutorial, you must install a reliable plugin on your site. When it comes to popups, or forms, FireBox is the best WordPress popup plugin. It’s a powerful popup maker for WordPress based on the Gutenberg Block Editor. With a user-friendly interface, FireBox allows you to easily create and customize various popups, including lightboxes, sticky bars, sidebars, fullscreen popups, slide-ins, floating buttons, and more.
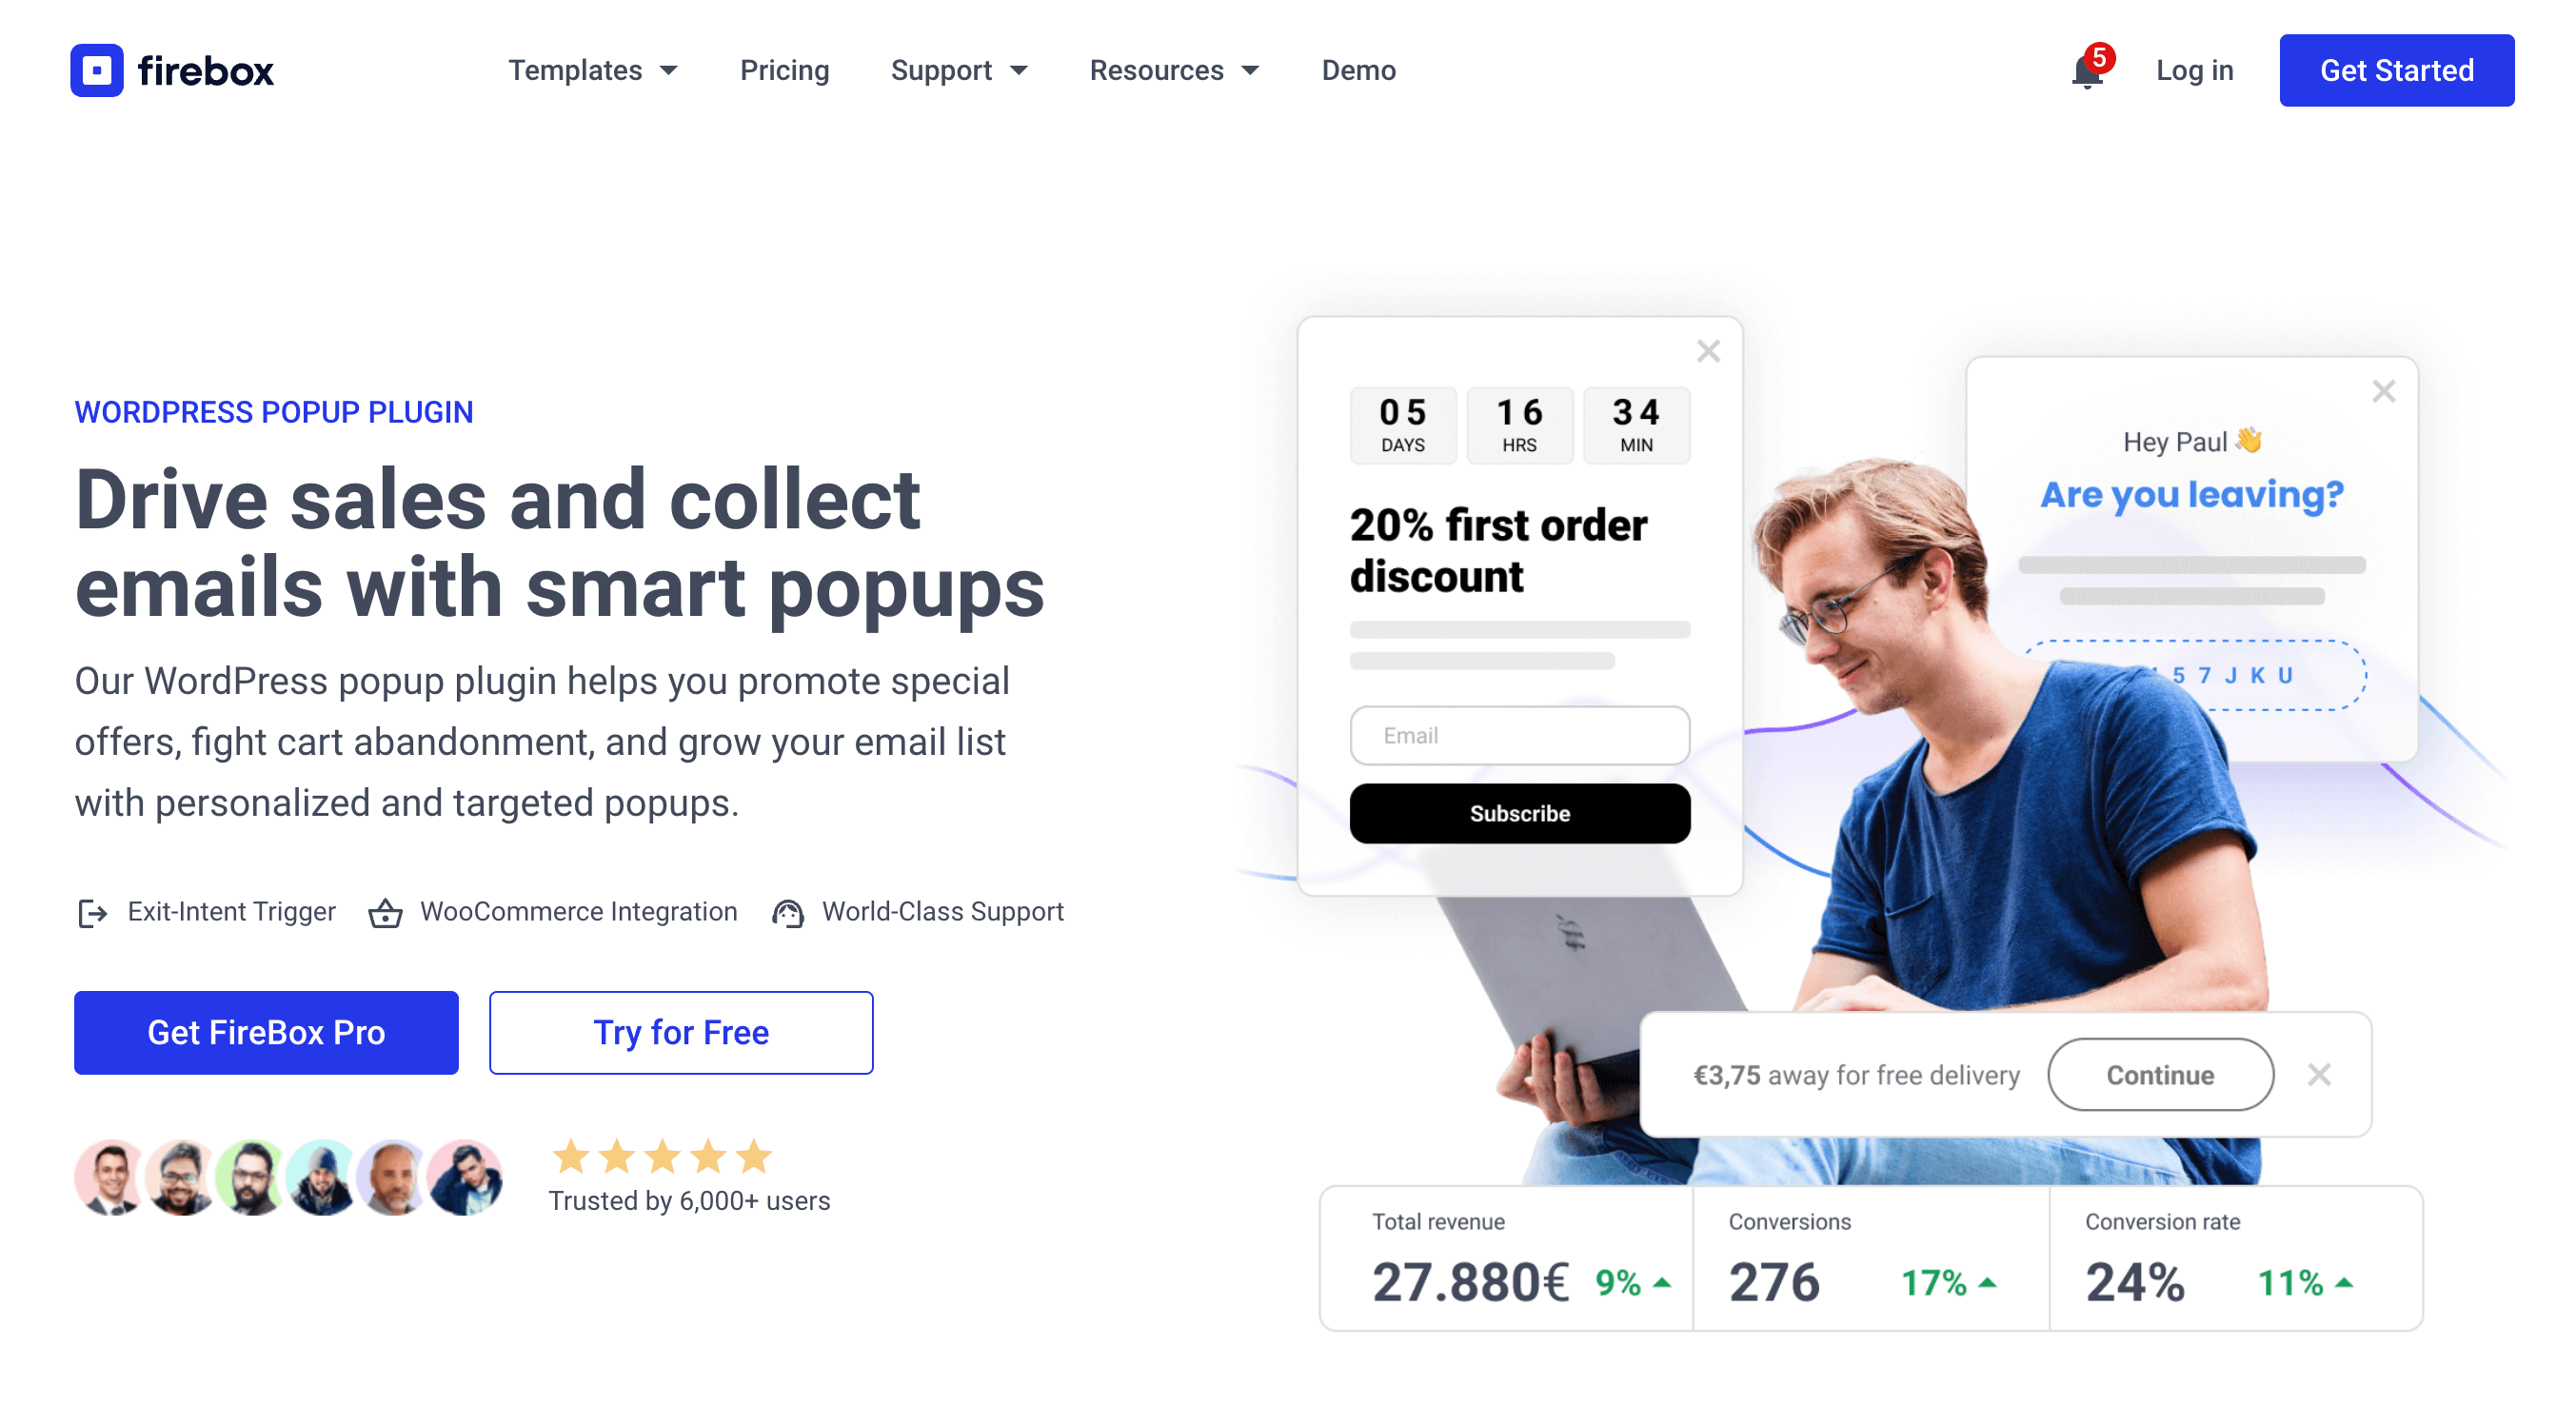
FireBox offers precise control over when the forms appear, giving you access to creating personalized and targeted forms with display conditions based on Device, Referrer, Page, URL, Cookie, Geolocation, Datetime, and even conditions for WooCommerce.
Step 1: Download FireBox Lite
The very first step is to download FireBox Lite and install it on your WordPress site by following the steps listed below.
Step 2: Install FireBox Lite
After downloading the FireBox Free installation zip file, upload it to your site.
- Head to your WordPress dashboard and click on Plugins > Add New.
- Choose the zip file you have just downloaded. Click on install.
- Once the plugin is installed, click the Activate Plugin button to activate the plugin on your site.
If you need any help with the installation process, see the documentation on installing FireBox for help. Looking to go Pro? Don't worry, if you're already using FireBox Lite, you can easily upgrade from Lite to Pro. However, after upgrading to Pro, you must also activate your license to ensure you receive automatic plugin updates.
Step 3: Create a New Popup Campaign
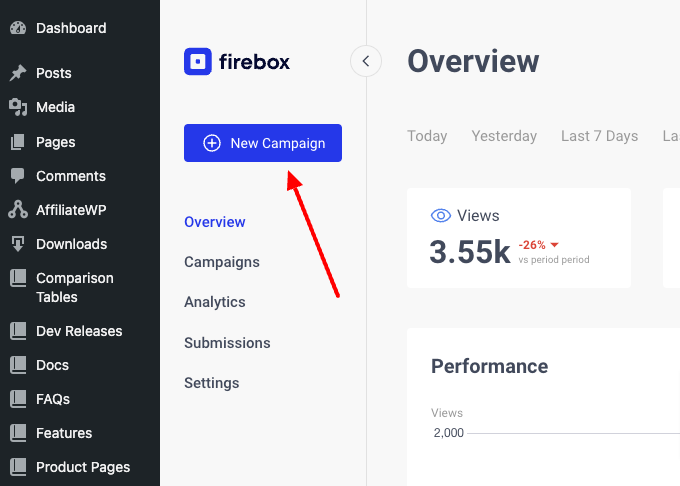
Now that you have the FireBox plugin installed, let’s look at how to create your first popup. Head to the FireBox plugin in your WordPress dashboard and click New Campaign, as shown in the screenshot below.
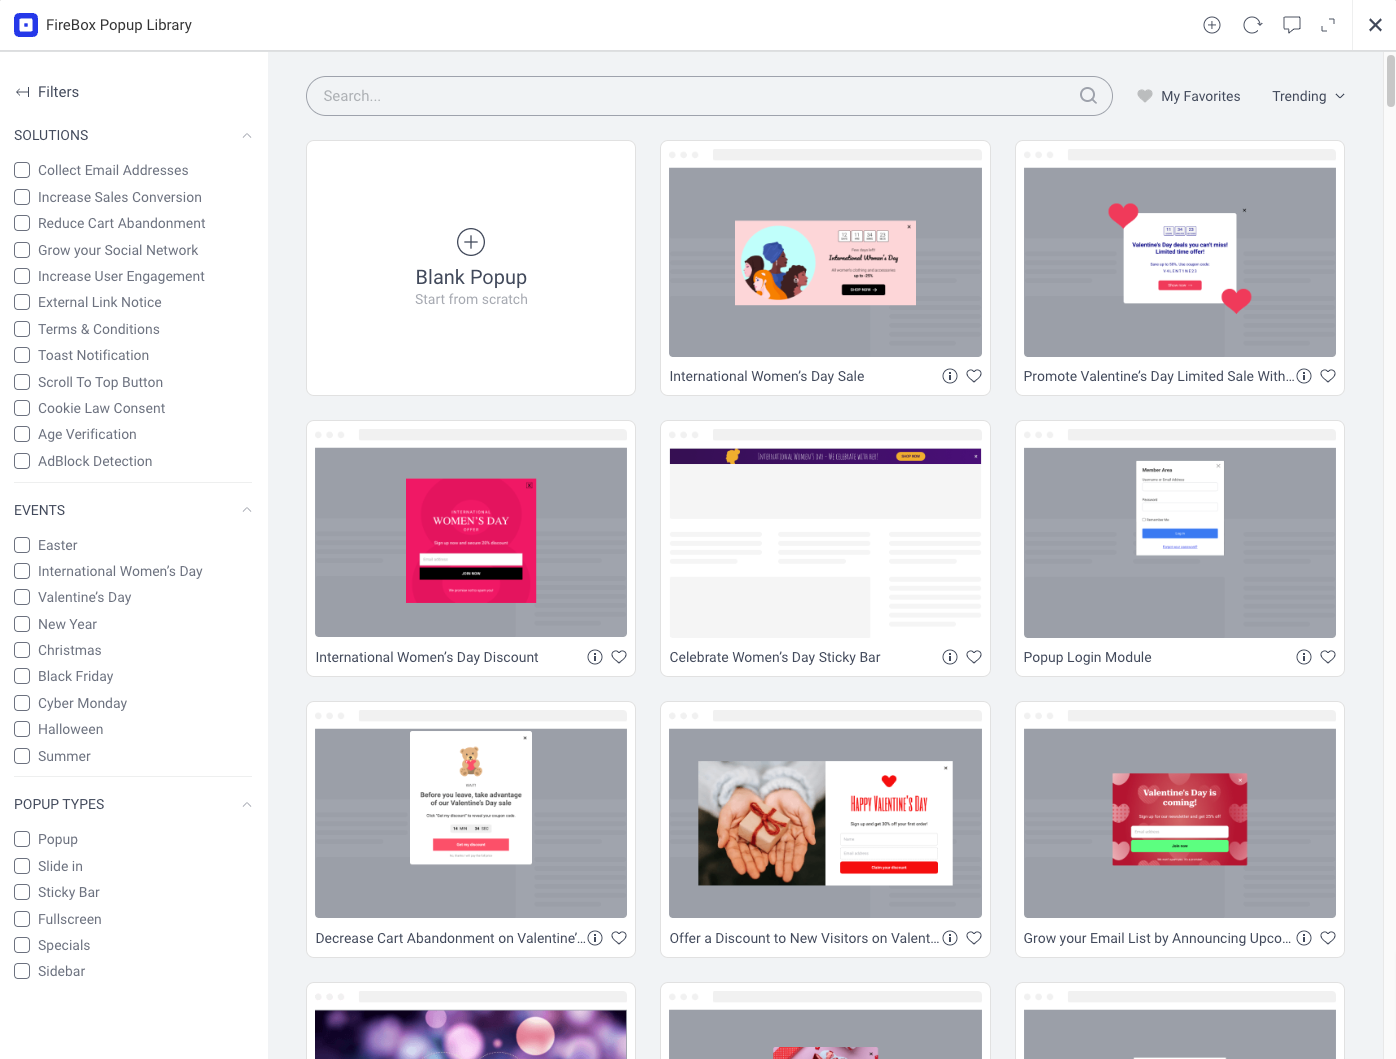
You will see a dialog with lots of pop-up layouts appearing. FireBox has a big collection of ready-to-use popup templates to help you get started.
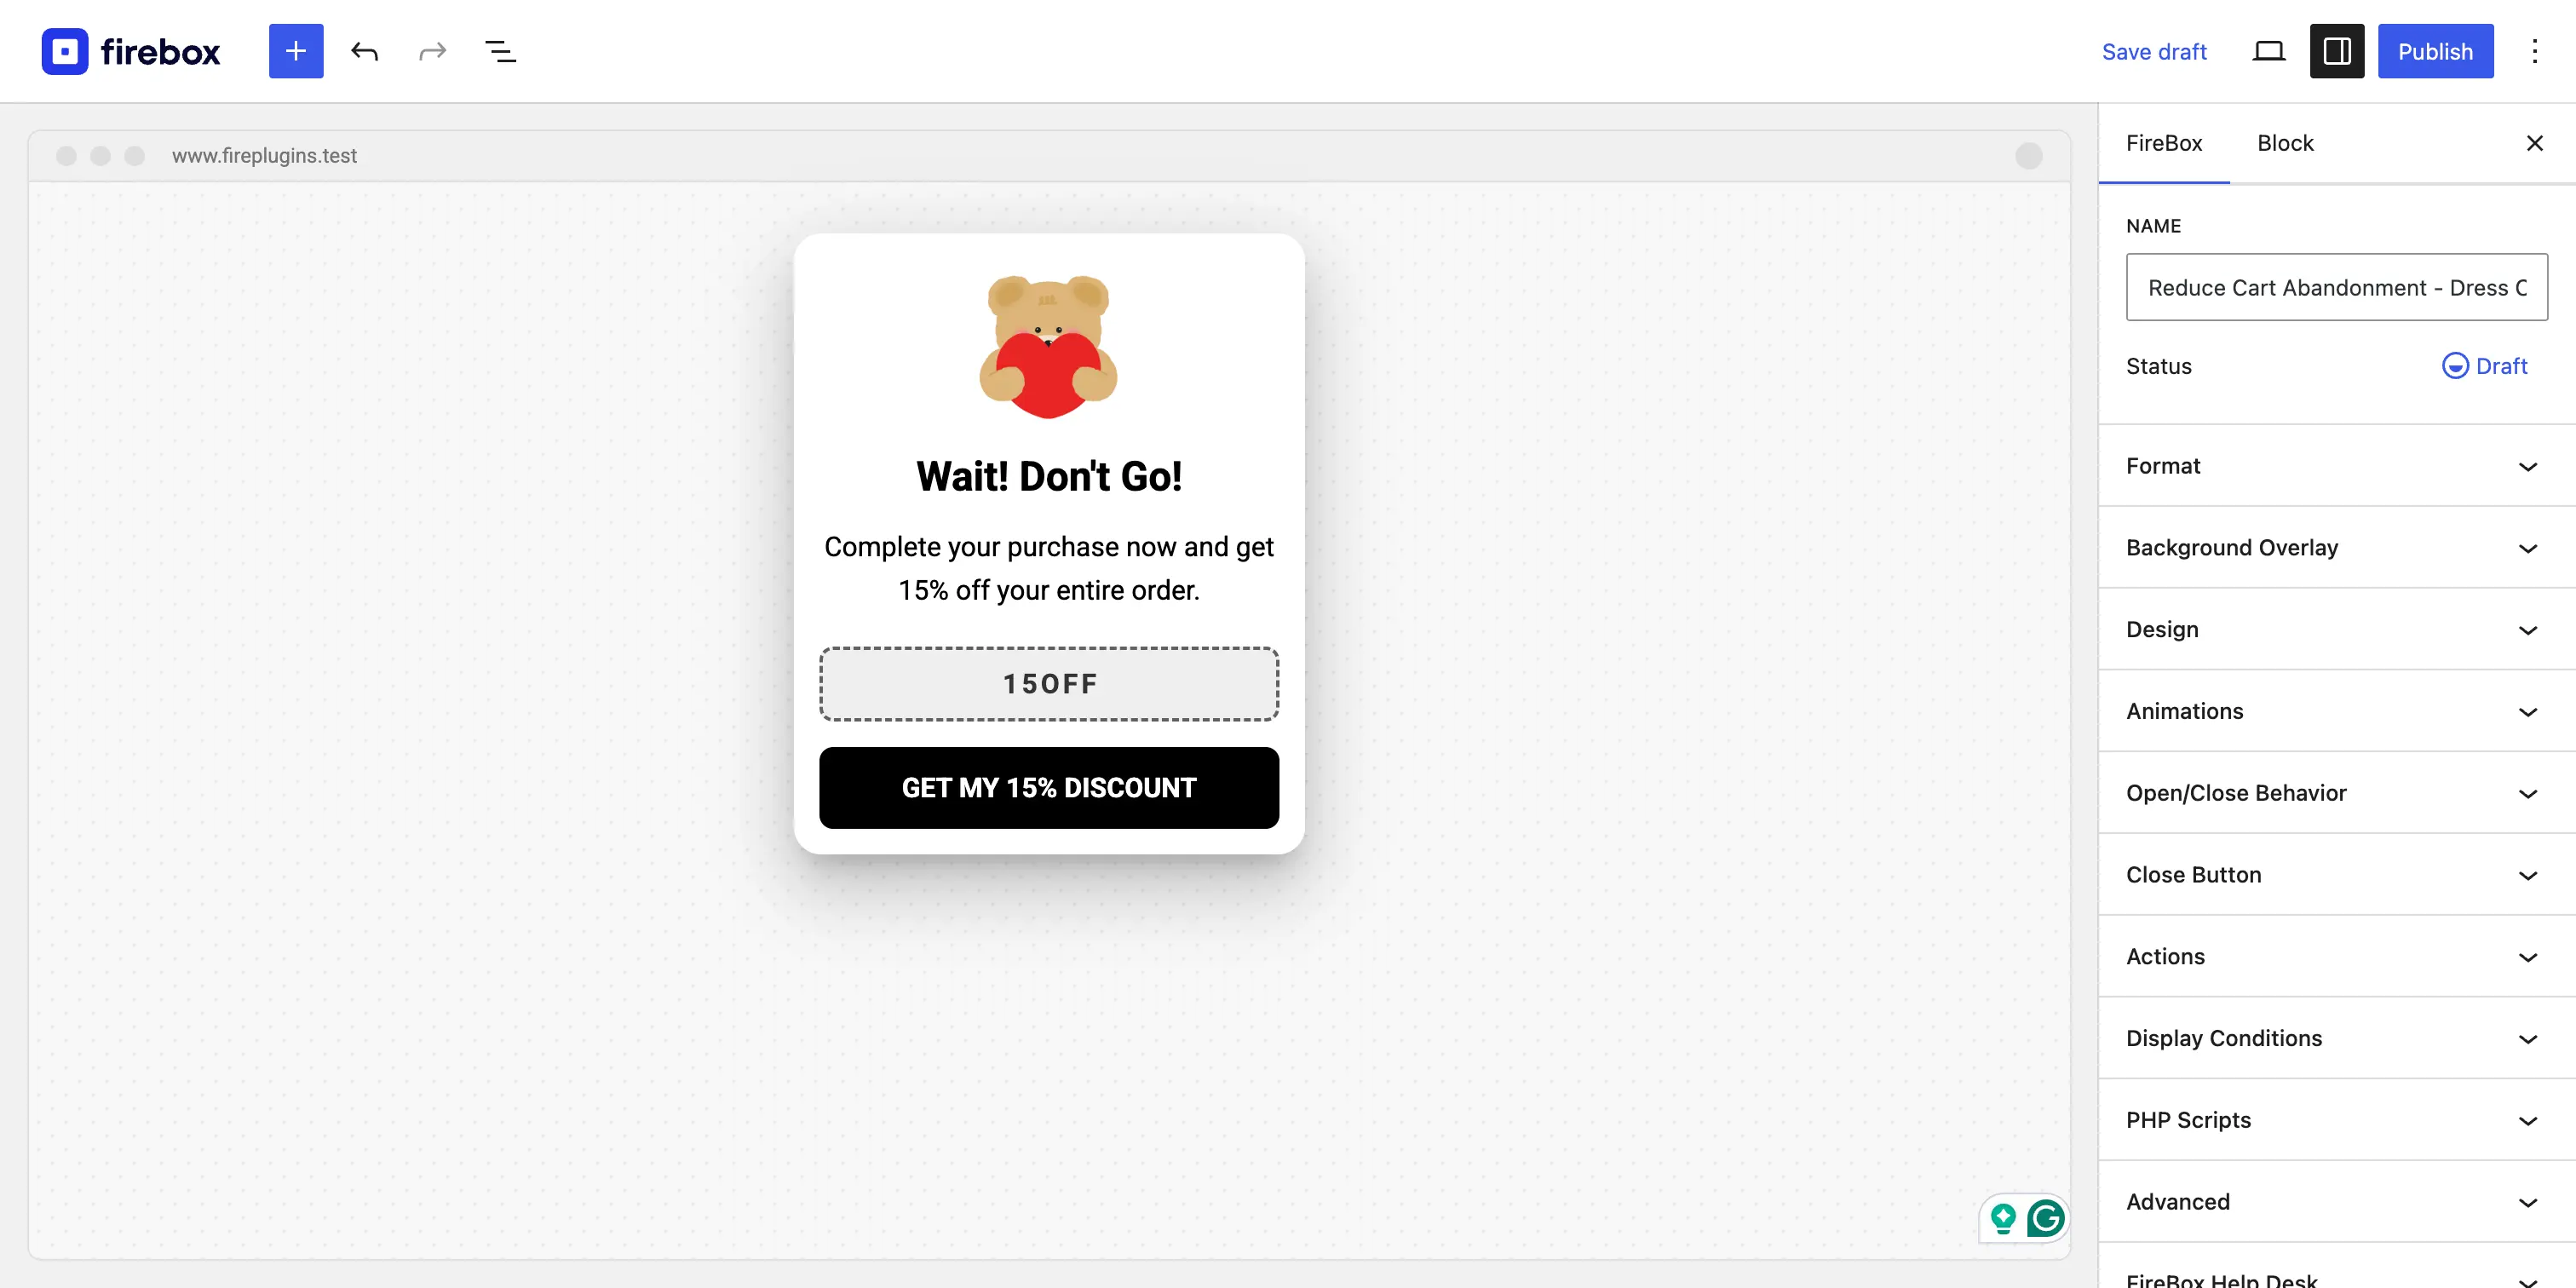
For this use case, we'll search for the template "Reduce Cart Abandonment – Dress Offer" and adjust it to fit our needs.
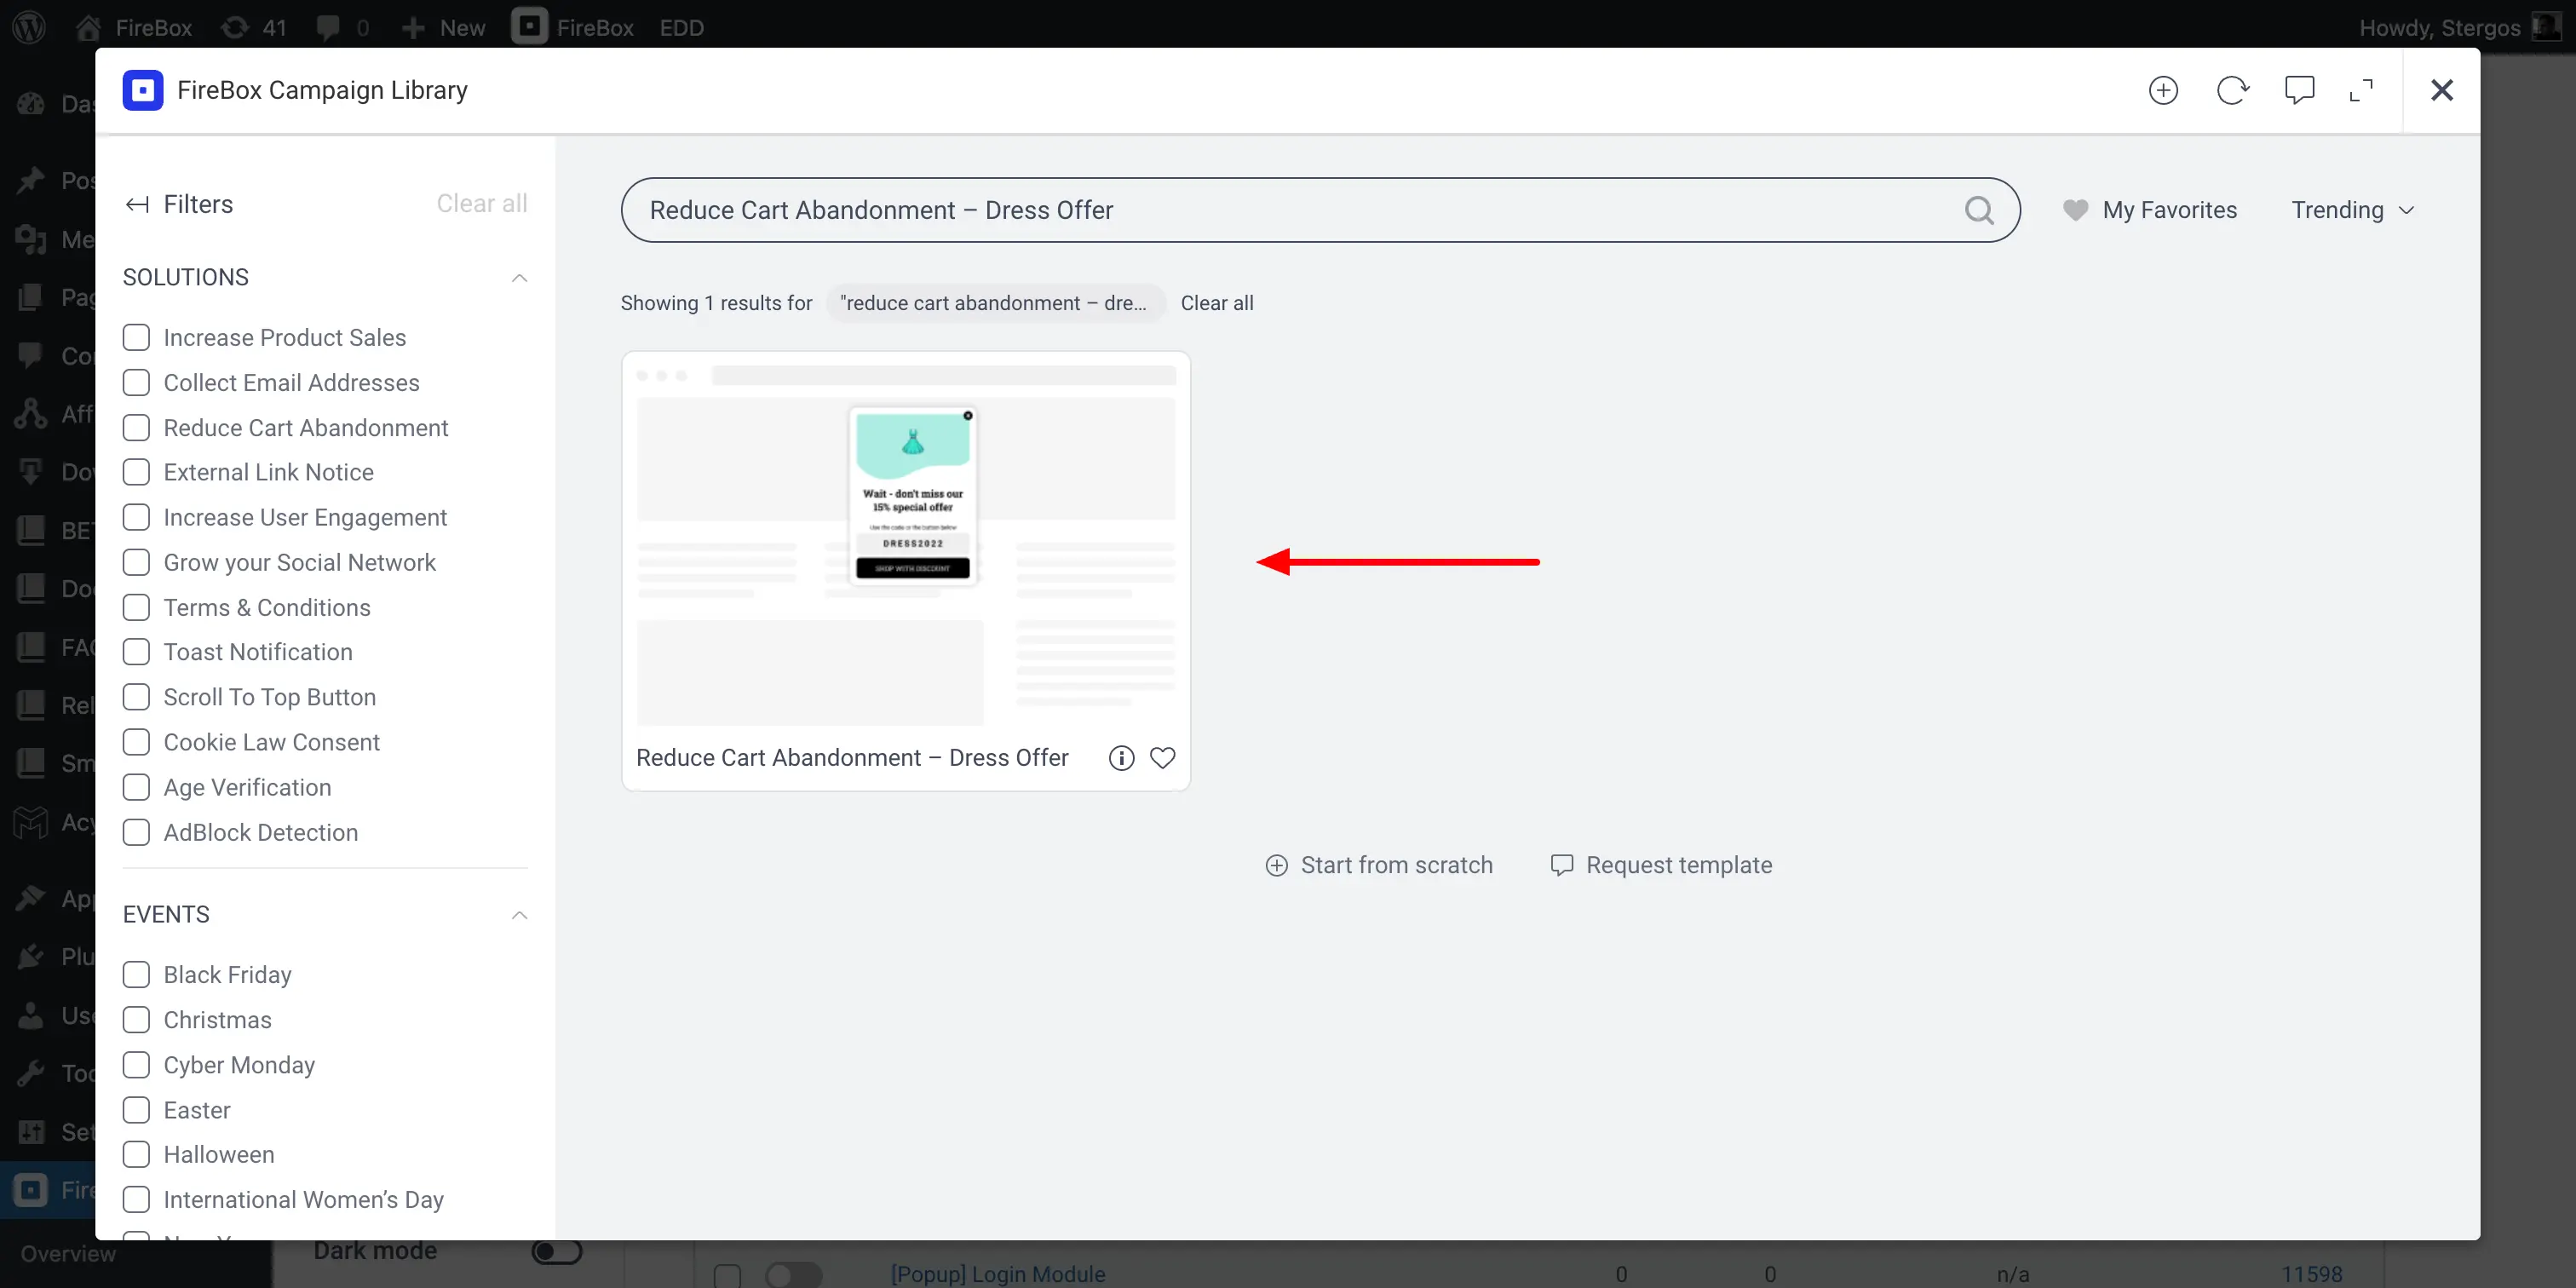
Hover over the template and click on the "Insert" button.
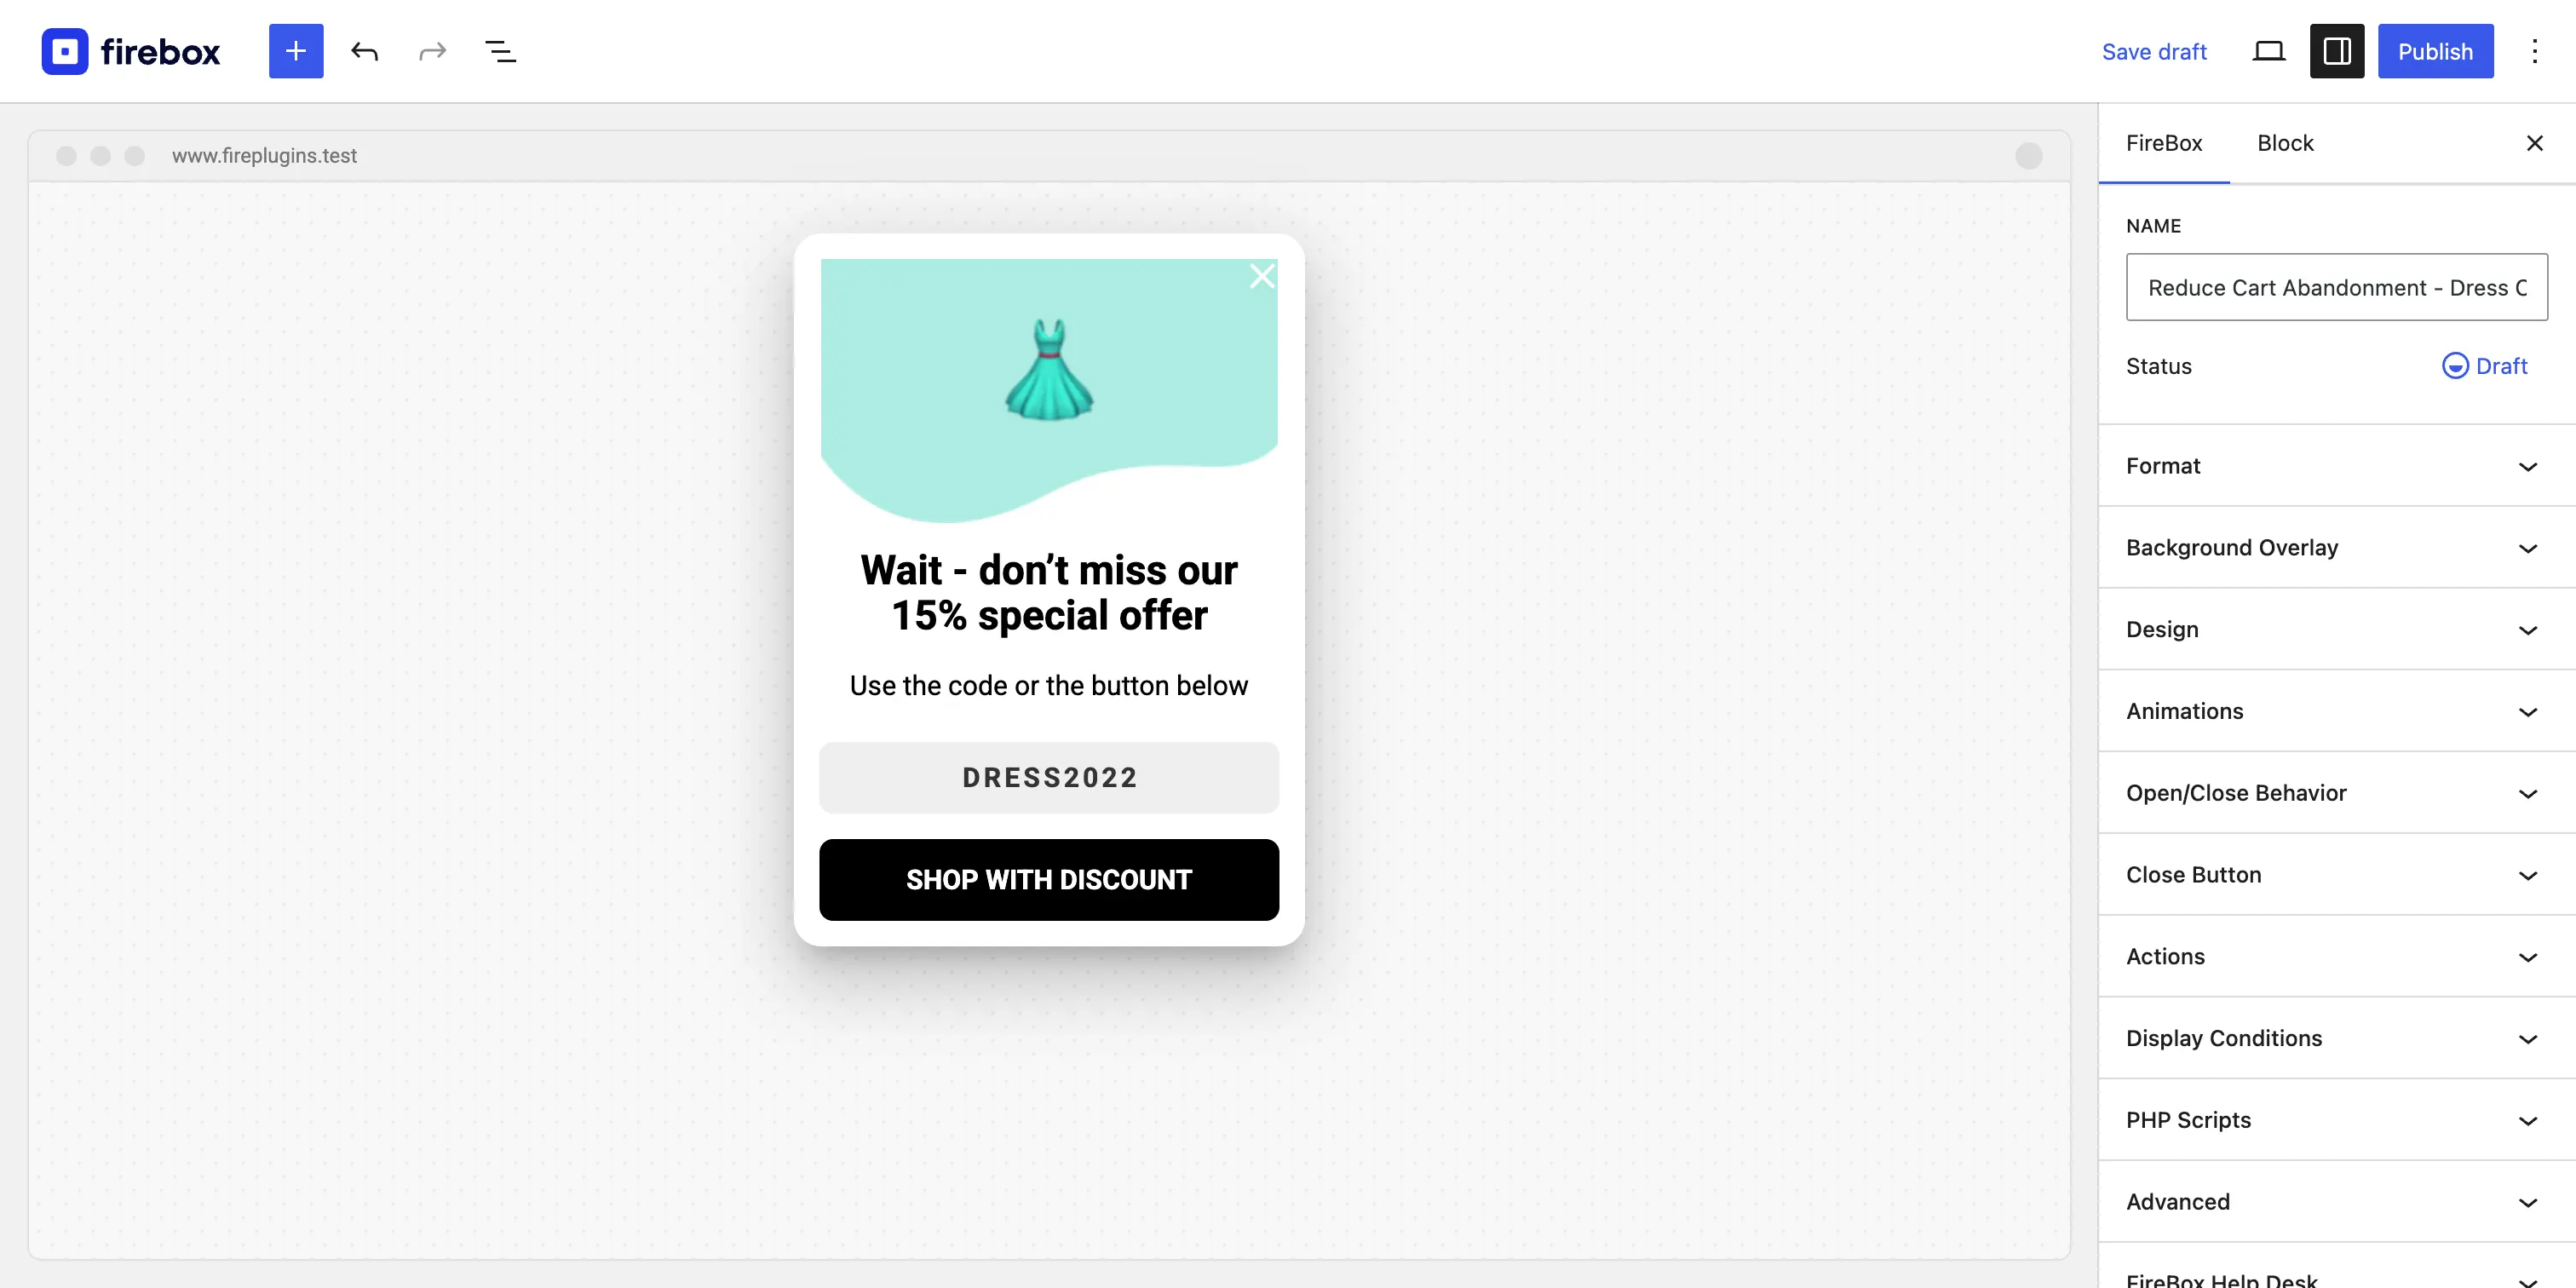
Once you've inserted the template into FireBox, it's time to start customizing it, in the next step.
Step 4: Design the Popup and Write Compelling Copy
This is where you craft your message. Keep it clear, concise, and benefit-driven.
- Headline: Grab their attention immediately. Something like "Wait! Don't Go!" or "Leaving So Soon?" works well.
- Body Copy: Clearly state the offer. For example: "Complete your purchase now and get 15% off your entire order."
- Call to Action (CTA) Button: Use action-oriented text. Instead of "Submit," use "Get My 15% Off" or "Apply Discount." This reinforces the value.
- Coupon Code: Display the coupon code clearly, or have the CTA button apply it automatically if your tool supports it.
Make sure the design is clean and matches your brand's look and feel.
After making the appropriate changes, our campaign may look like below:
Step 5: Configure the Exit-Intent Trigger
This is the magic ingredient. In your campaign settings, navigate to the "Triggers" section. Select the Exit Intent trigger. This tells the popup to only activate when it detects a user is about to leave the page. Most tools allow you to adjust sensitivity, but the default settings are usually effective. This trigger is the core of any effective WooCommerce abandoned cart strategy.
Step 6: Set Your Display Conditions for Precision Targeting
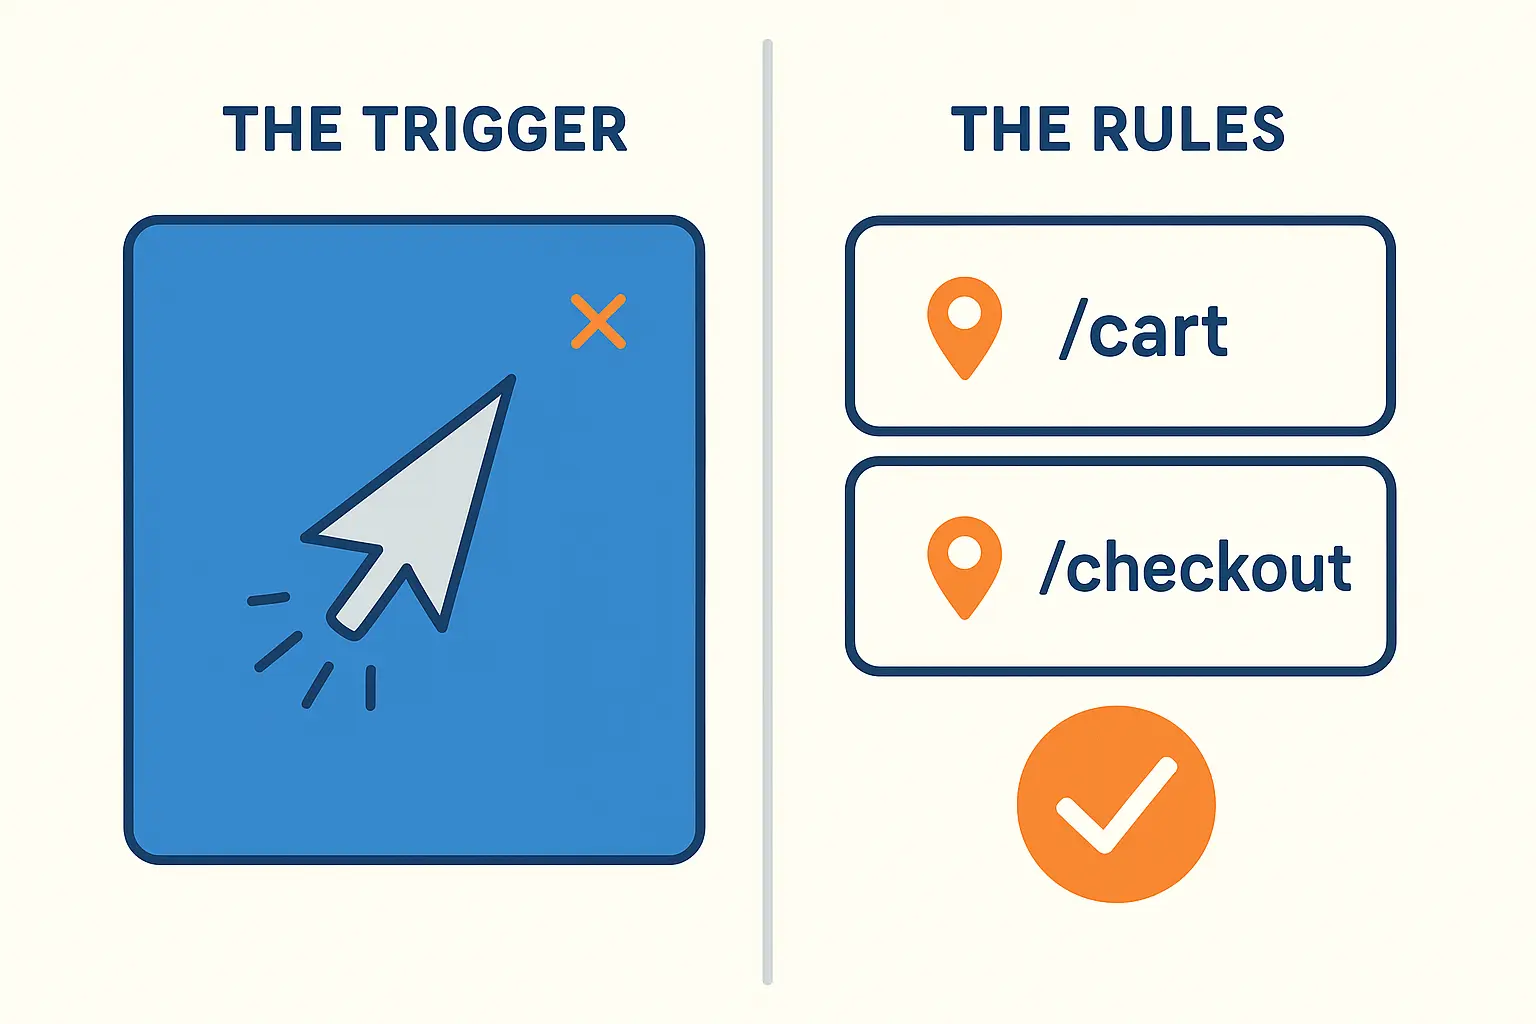
This is the final and most important step. You need to ensure your popup only appears on the WooCommerce cart and checkout pages.
In the "Display Conditions" or "Targeting" section of your campaign, set the following rules:
- Rule 1: Target the Cart Page. Add a rule to show the popup when current
Pageis your cart. - Rule 2: Target the Checkout Page. Add another rule using an "OR" condition to also show the popup when Page URL contains
yourstore.com/checkout.
By setting these two rules, you ensure your offer is only presented to shoppers who have already added items to their cart and are on the verge of making a final purchase decision.
Pro Tip: You can make your popup even smarter by adding another condition. For instance, you could add a WooCommerce Cart Total condition to only show the offer if the cart value is greater than $50. This prevents you from giving discounts on very small orders and can encourage users to add more items to their cart to qualify.
Step 7: Publish and Monitor
Once everything is configured, publish your campaign. Let it run for a week or two, then check the analytics. A good popup tool will show you how many times it was viewed and how many people converted. This data will help you determine if your offer is effective or if you need to test a different approach.
Boost Your WooCommerce Sales Today Recover lost revenue with powerful abandoned cart popups.Conclusion
A well-executed WooCommerce abandoned cart popup is more than just a marketing gimmick; it's a customer service tool. It acknowledges a user's hesitation and provides a helpful nudge to complete a process they already started. By moving away from generic interruptions and toward smart, contextual offers, you can recover lost revenue and create a better shopping experience for your customers.
Get FireBox for Free
Enter your WordPress website URL to install instantly.
Trusted by 9,000+ users
0 Comments