

Popups have been there for quite a long time, even though they can annoy users. However, if you can harness the power of Popups, omitting its (widely used) nature of annoying the visitors to your website, then you’ll be golden, you know?
Well, what are these sticky bars we mentioned? They are somewhat like a younger sibling of the good old popups. These sticky floating bars are innovative since they wouldn’t bother your potential customer if utilized properly and will only appear when you want them to appear. Furthermore, they take only a portion of the screen by design, and you can place them anywhere.
Imagine how measuring up the correct timing and exact positioning of a great marketing tool/action taker/lead conversion tool could benefit your business. Moreover, you’ll have millions of use cases for sticky floating bars at your fingertips.
Let’s see how to make your sticky floating bar in your WordPress website in minutes.
How to add a sticky floating bar to your WordPress site
This article discusses creating a sticky floating bar in your WordPress website using the FireBox plugin. Despite being relatively younger than most WordPress plugins, it’s modern and powerful, with a convenient interface. You’ll love it.
Download and Install FireBox
Downloading and installing the FireBox plugin is easy and will take only a few seconds. First, log in to the Admin Dashboard of your WordPress website.
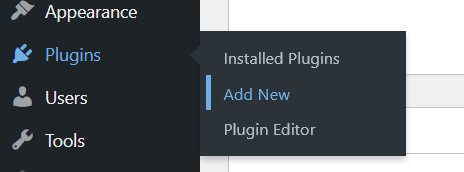
Then go to Plugins -> Add New.
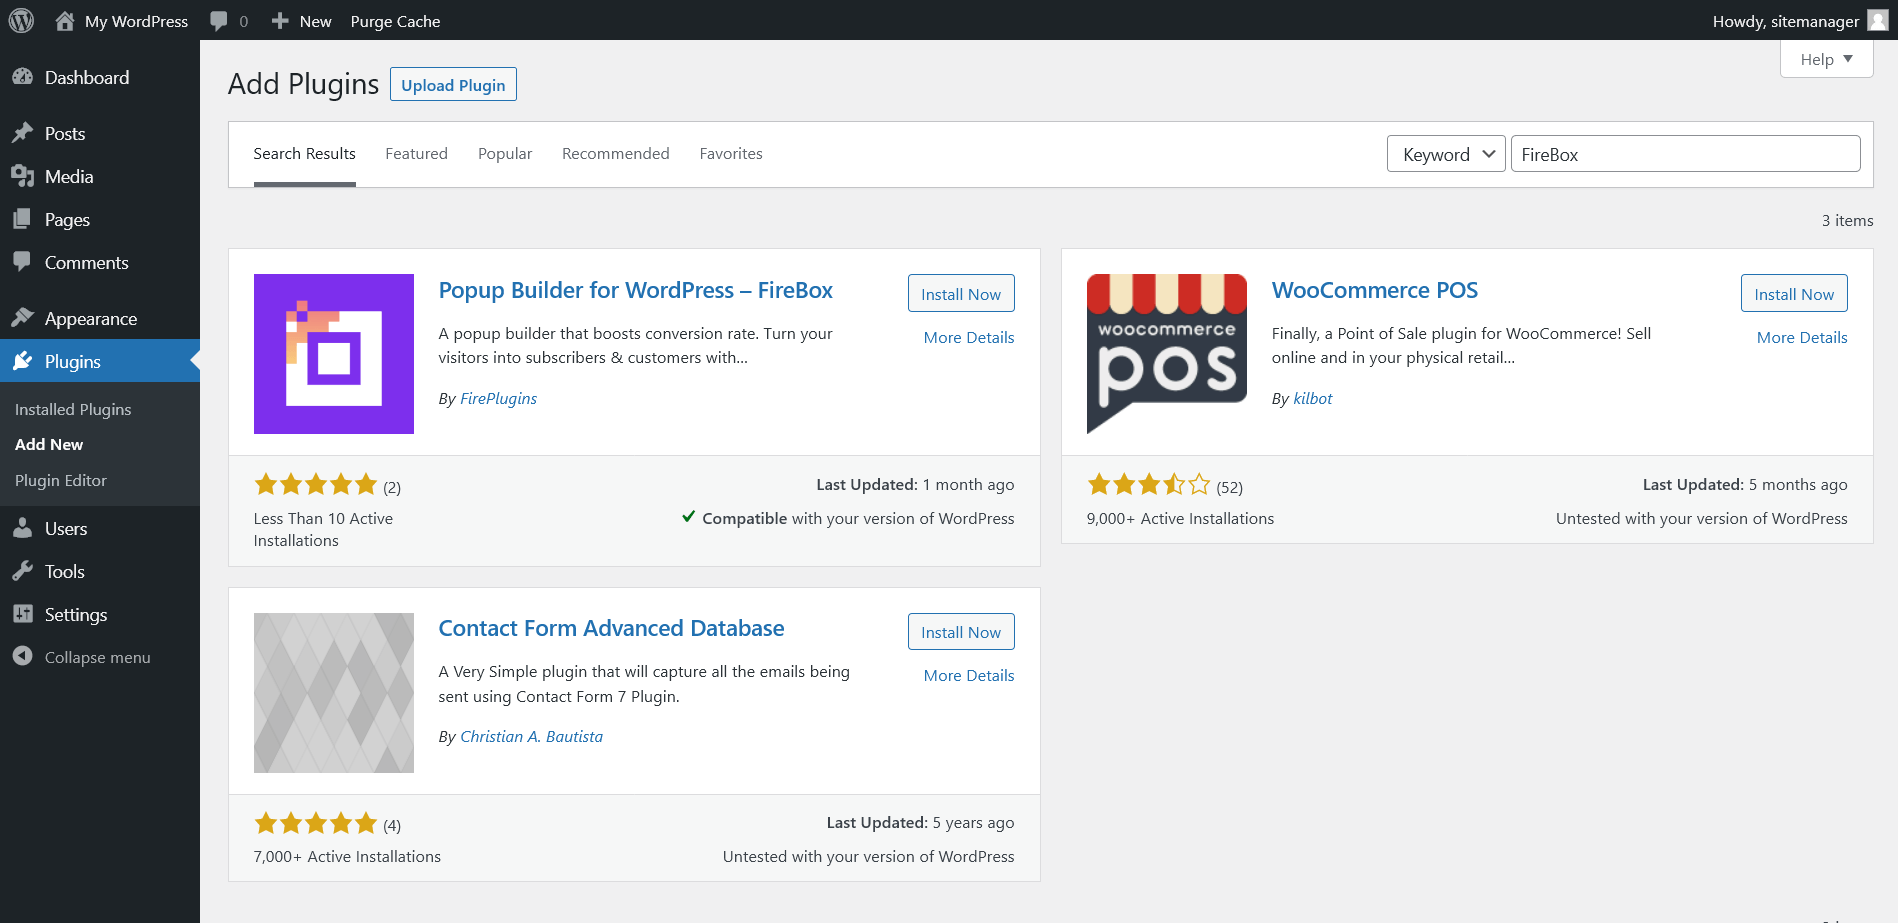
Type “FireBox” in the search bar, and the search results show the plugin. Click on Install Now. Once the installation process is complete, click Activate.
Upon activating the plugin, you will see a new menu entry called “FireBox” on your left sidebar.
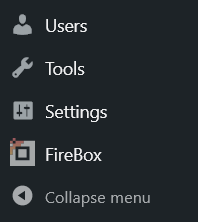
Click on that newly added menu item to continue.
Create and design the sticky floating bar
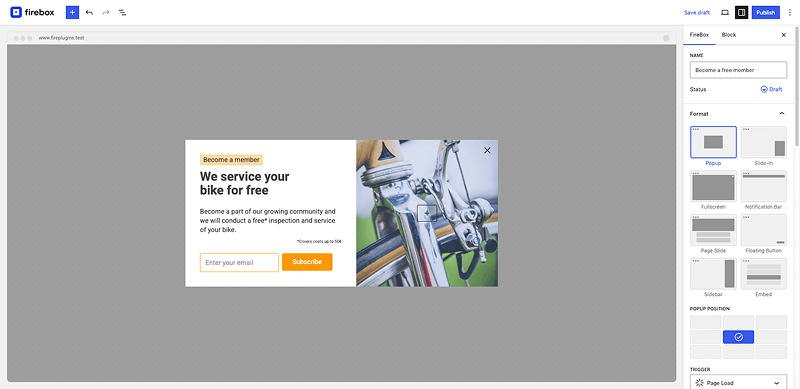
Click on New Popup on the top menu inside the FireBox dashboard.

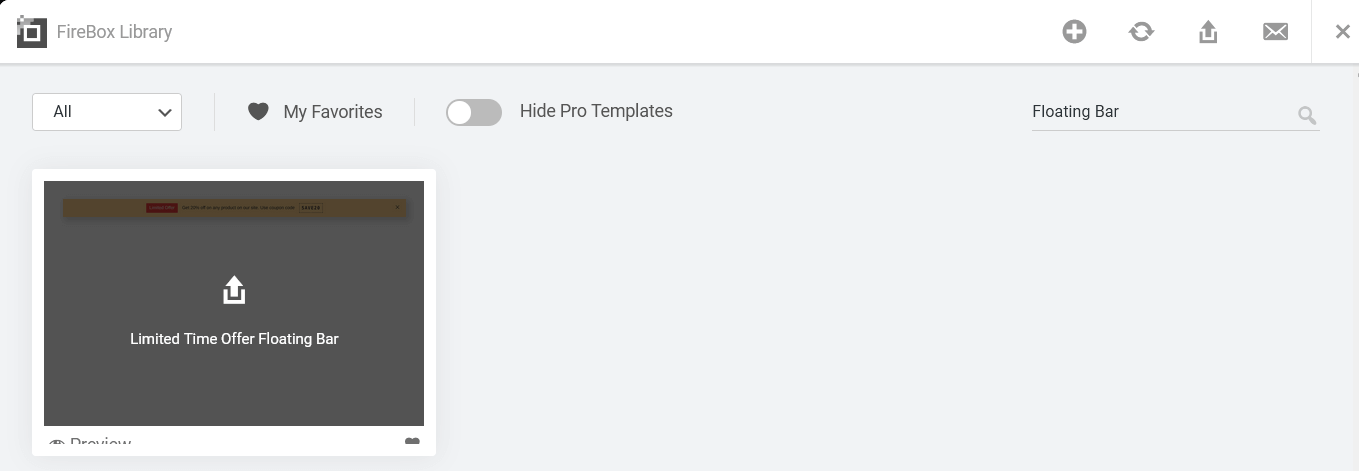
Type “floating bar” in the search input in the top right to view all the available sticky bar templates, and click on your favorite template.
Then, you’ll be directed to your floating bar’s design/customization screen. Scroll down to see the available FireBox settings.
Customize and style your floating bar
You’ll be presented with a few vertical settings tabs, such as Design, Behavior, Publishing Rules, Actions, and Advanced.
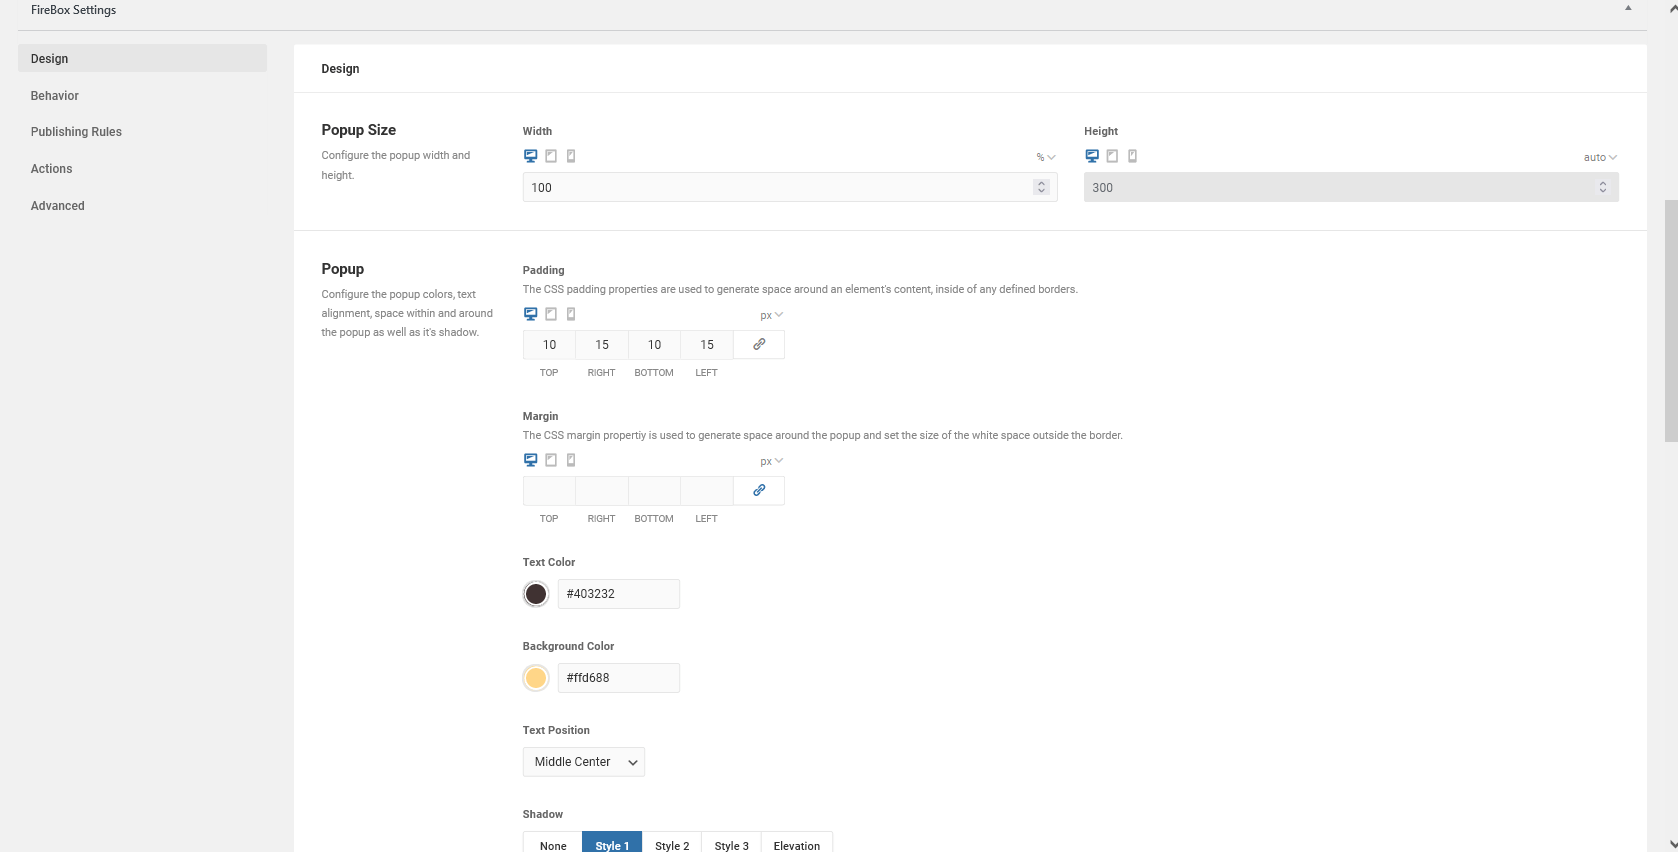
Design Settings
Here, you can customize the design of your sticky bar and how it should be displayed to visitors.
You can customize the floating bar via customization options such as bar dimensions (width and height), Padding and Margins, Colors (text color, background color), text positioning within the floating bar, and shadow options. Additional customizations are available for the Popup animations (open and close animations), including adding and customizing borders and an overlay and background image if needed.
You can also customize the close button (You can choose to hide the close button of the floating bar or show the close button and change its positioning), button colors, and add a delay between clicking on and hiding the floating bar from view.
Change the way your pop-up shows up
You can change the workflow of the pop-up from the Behavior tab.
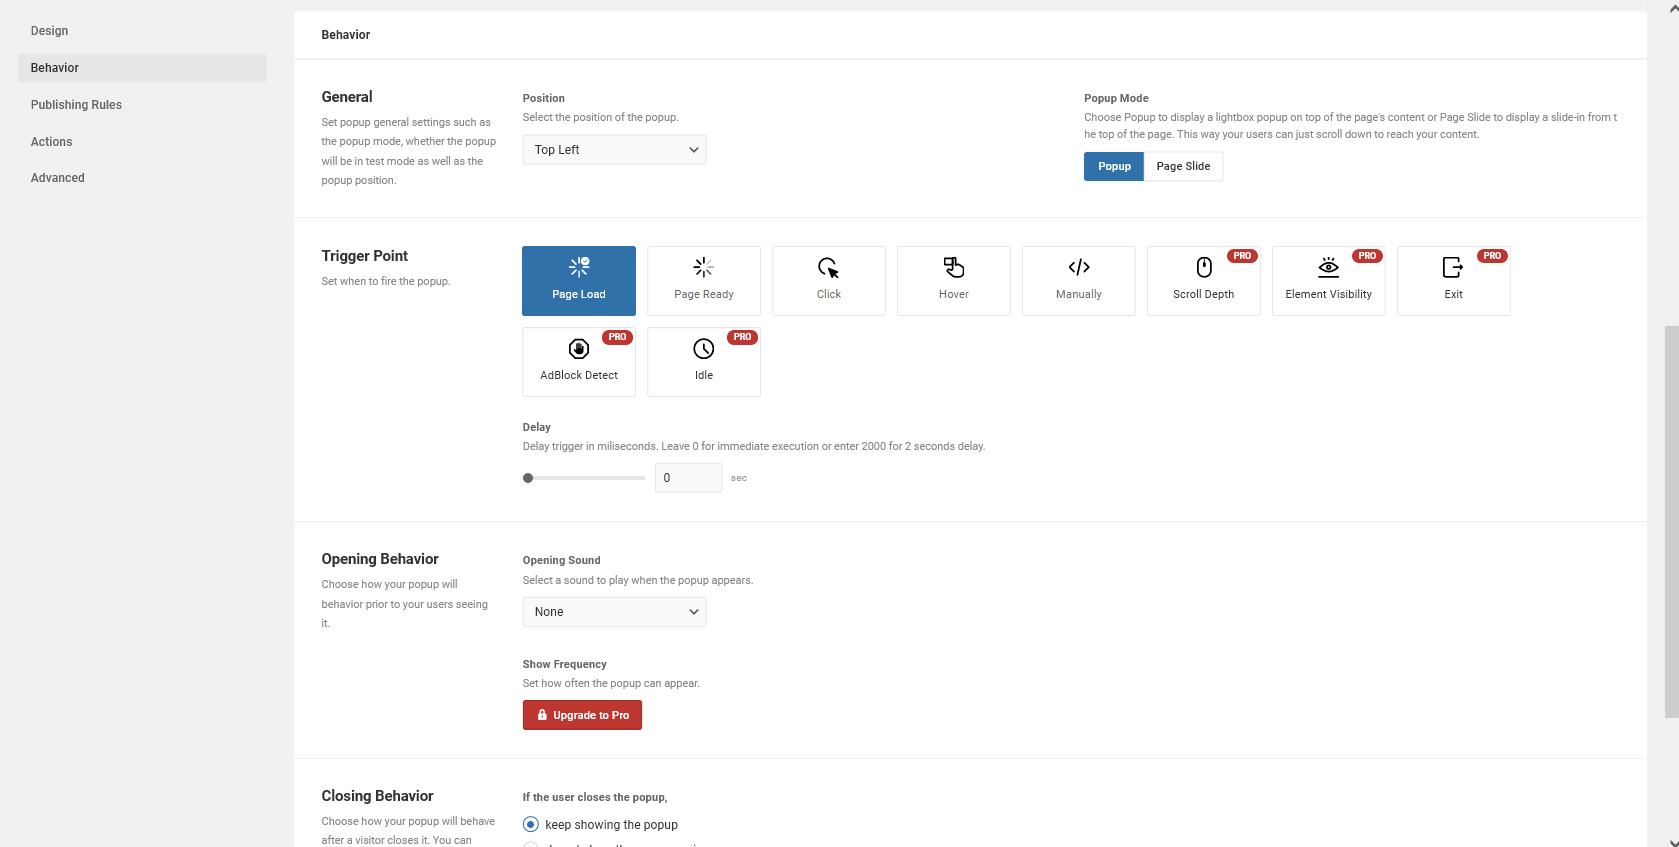
You can select a trigger point to display a sticky bar to the visitor automatically on page load or when a visitor clicks on an element. You can also manually trigger a popup via HTML attributes or Javascript. Both are available in the Lite version.
Moreover, there are several ways to trigger the popup. Some of them are
- show the Pop Up depending on the page scroll depth
- when a certain element is first visible to the visitor
- when a user tries to exit the website (exit intent)
- when the visitor is detected using an adblocker
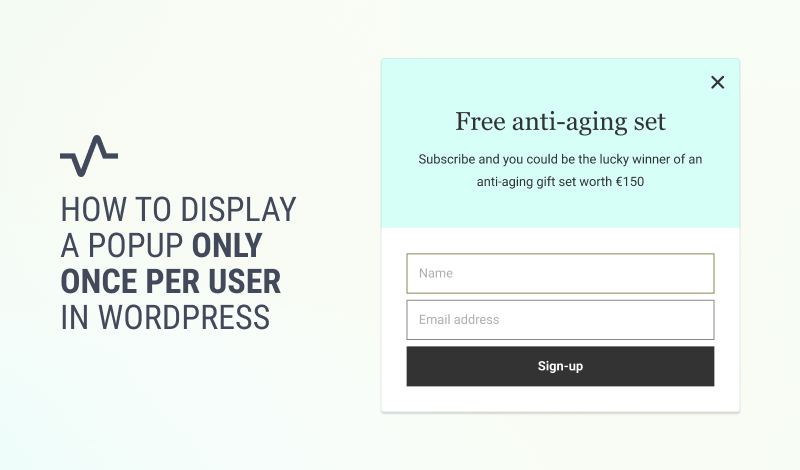
- when the visitor is idle for a specific period
You can even customize the position for displaying your floating bar. Available options include three-by-three (3*3) grid locations. The locations are Top, Middle, and Bottom, with each option having three variations: Left, Right, and Center. (Ex: Top Center).
Furthermore, there are two variations for the Popup mode. One is to show your floating bar as a popup, which will be displayed above all other elements and positioned according to your chosen option. The other is to set the Popup mode as Page Slide, which will show your floating bar as a slide-in at the top of the page. This will not be positioned consistently but scroll along when a visitor scrolls down the page.
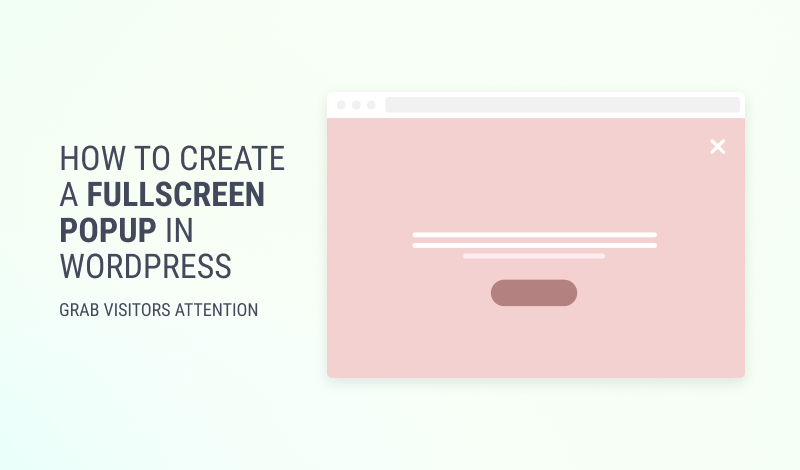
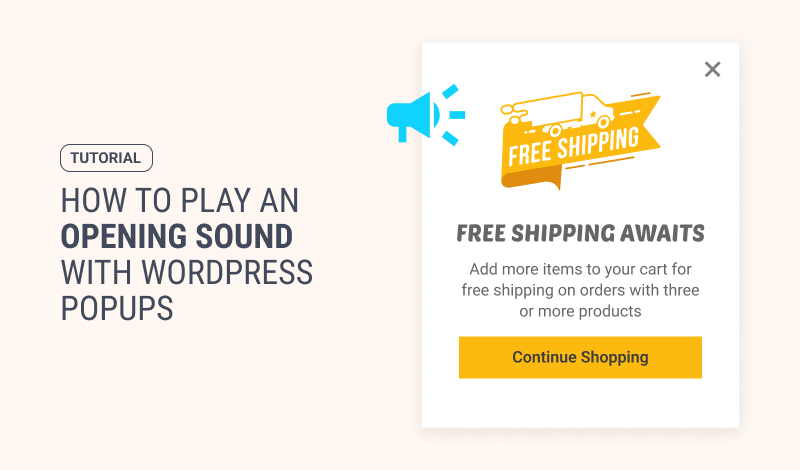
You can even set an opening sound to play when the pop-up is triggered, along with the option to change the pop-up frequency and what to do when a visitor clicks on the close button of the Pop-up.
Publishing Rules
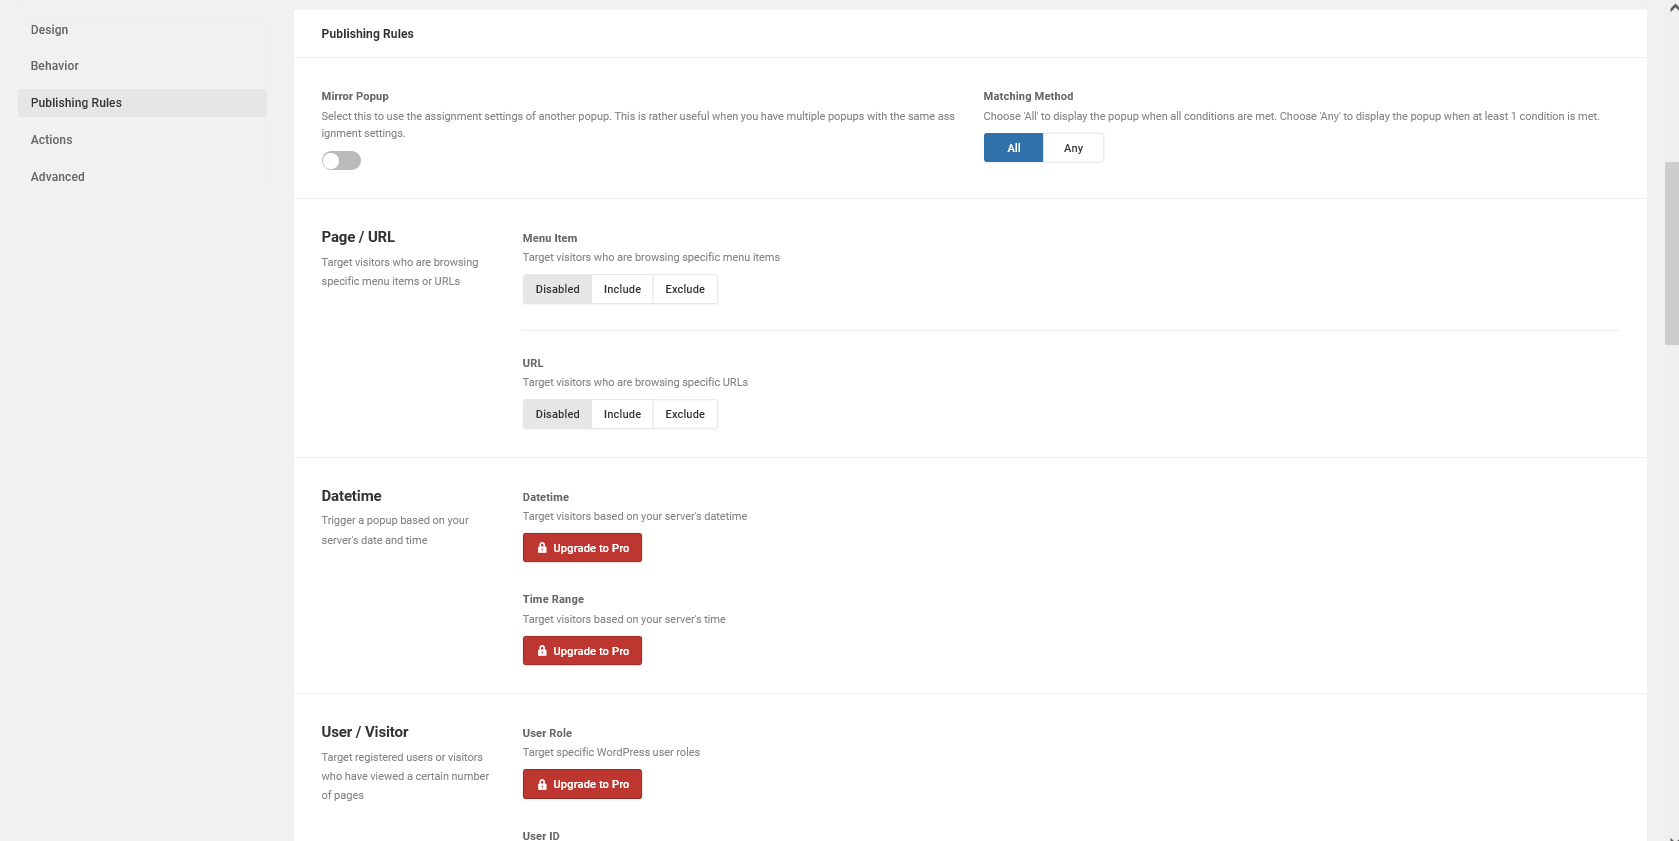
FireBox allows you to apply a set of publishing rules, which you can apply conditional logic to decide whether to show the floating bar according to your needs. You can set multiple conditions and select to show the floating bar when all the conditions are met or if any of the conditions are true.
Furthermore, you can choose to show or hide the floating bar when a visitor is browsing a specific menu item(s), on a specific URL, visits on a specified date (using your server’s date-time values), visits on specific time range, and target specific registered users by their role or ID. Apart from that, there are many more conditions to choose from.
These options will help perform targeted marketing or targeted campaigns only for specific visitors, an advanced methodology used in modern marketing. It will help you utilize the best possible leads, gaining the best sales or lead conversions.
FireBox also offers advanced options, such as custom action listeners, the ability to use custom CSS and JS, and a few other options. You can try these options to see how to utilize them to best fit your requirements.
Final thoughts
While you can always create a custom popup from scratch by coding, using the FireBox plugin is very convenient and could help you get a hassle-free marketing experience. Moreover, there’s no need for coding or troubleshooting when using this plugin. Besides, implementing a custom solution when there is a far better solution will waste time.
FireBox provides many options out of the box and allows you to customize popups. On top of that, it offers several popup types to suit different needs. As discussed in this article, you can use FireBox to have a sticky footer or header bar on your WordPress site. You can use this floating bar popup as a notification bar, a cookie notice, a GDPR notice bar, or to display promotional information such as coupon codes, auction reminders, or product sale notifications.
This way, your imagination will only be the limit on what you can do with a floating bar pop on your website. It offers endless possibilities and can also have a significant impact on your success if utilized effectively.
Get FireBox for Free
Enter your WordPress website URL to install instantly.
Trusted by 9,000+ users
0 Comments