


Bricks Builder offers great flexibility for designing your WordPress site, but what happens when you need to add a functional bricks popup? While Bricks has some basic popup features, you may need a more specialized tool for advanced capabilities like advanced triggers, display conditions, and detailed analytics.
In this guide, I’ll walk you through how to create a fully functional Bricks popup. We will create a popup that triggers when a user clicks a button created in Bricks.
How to create a Bricks Popup
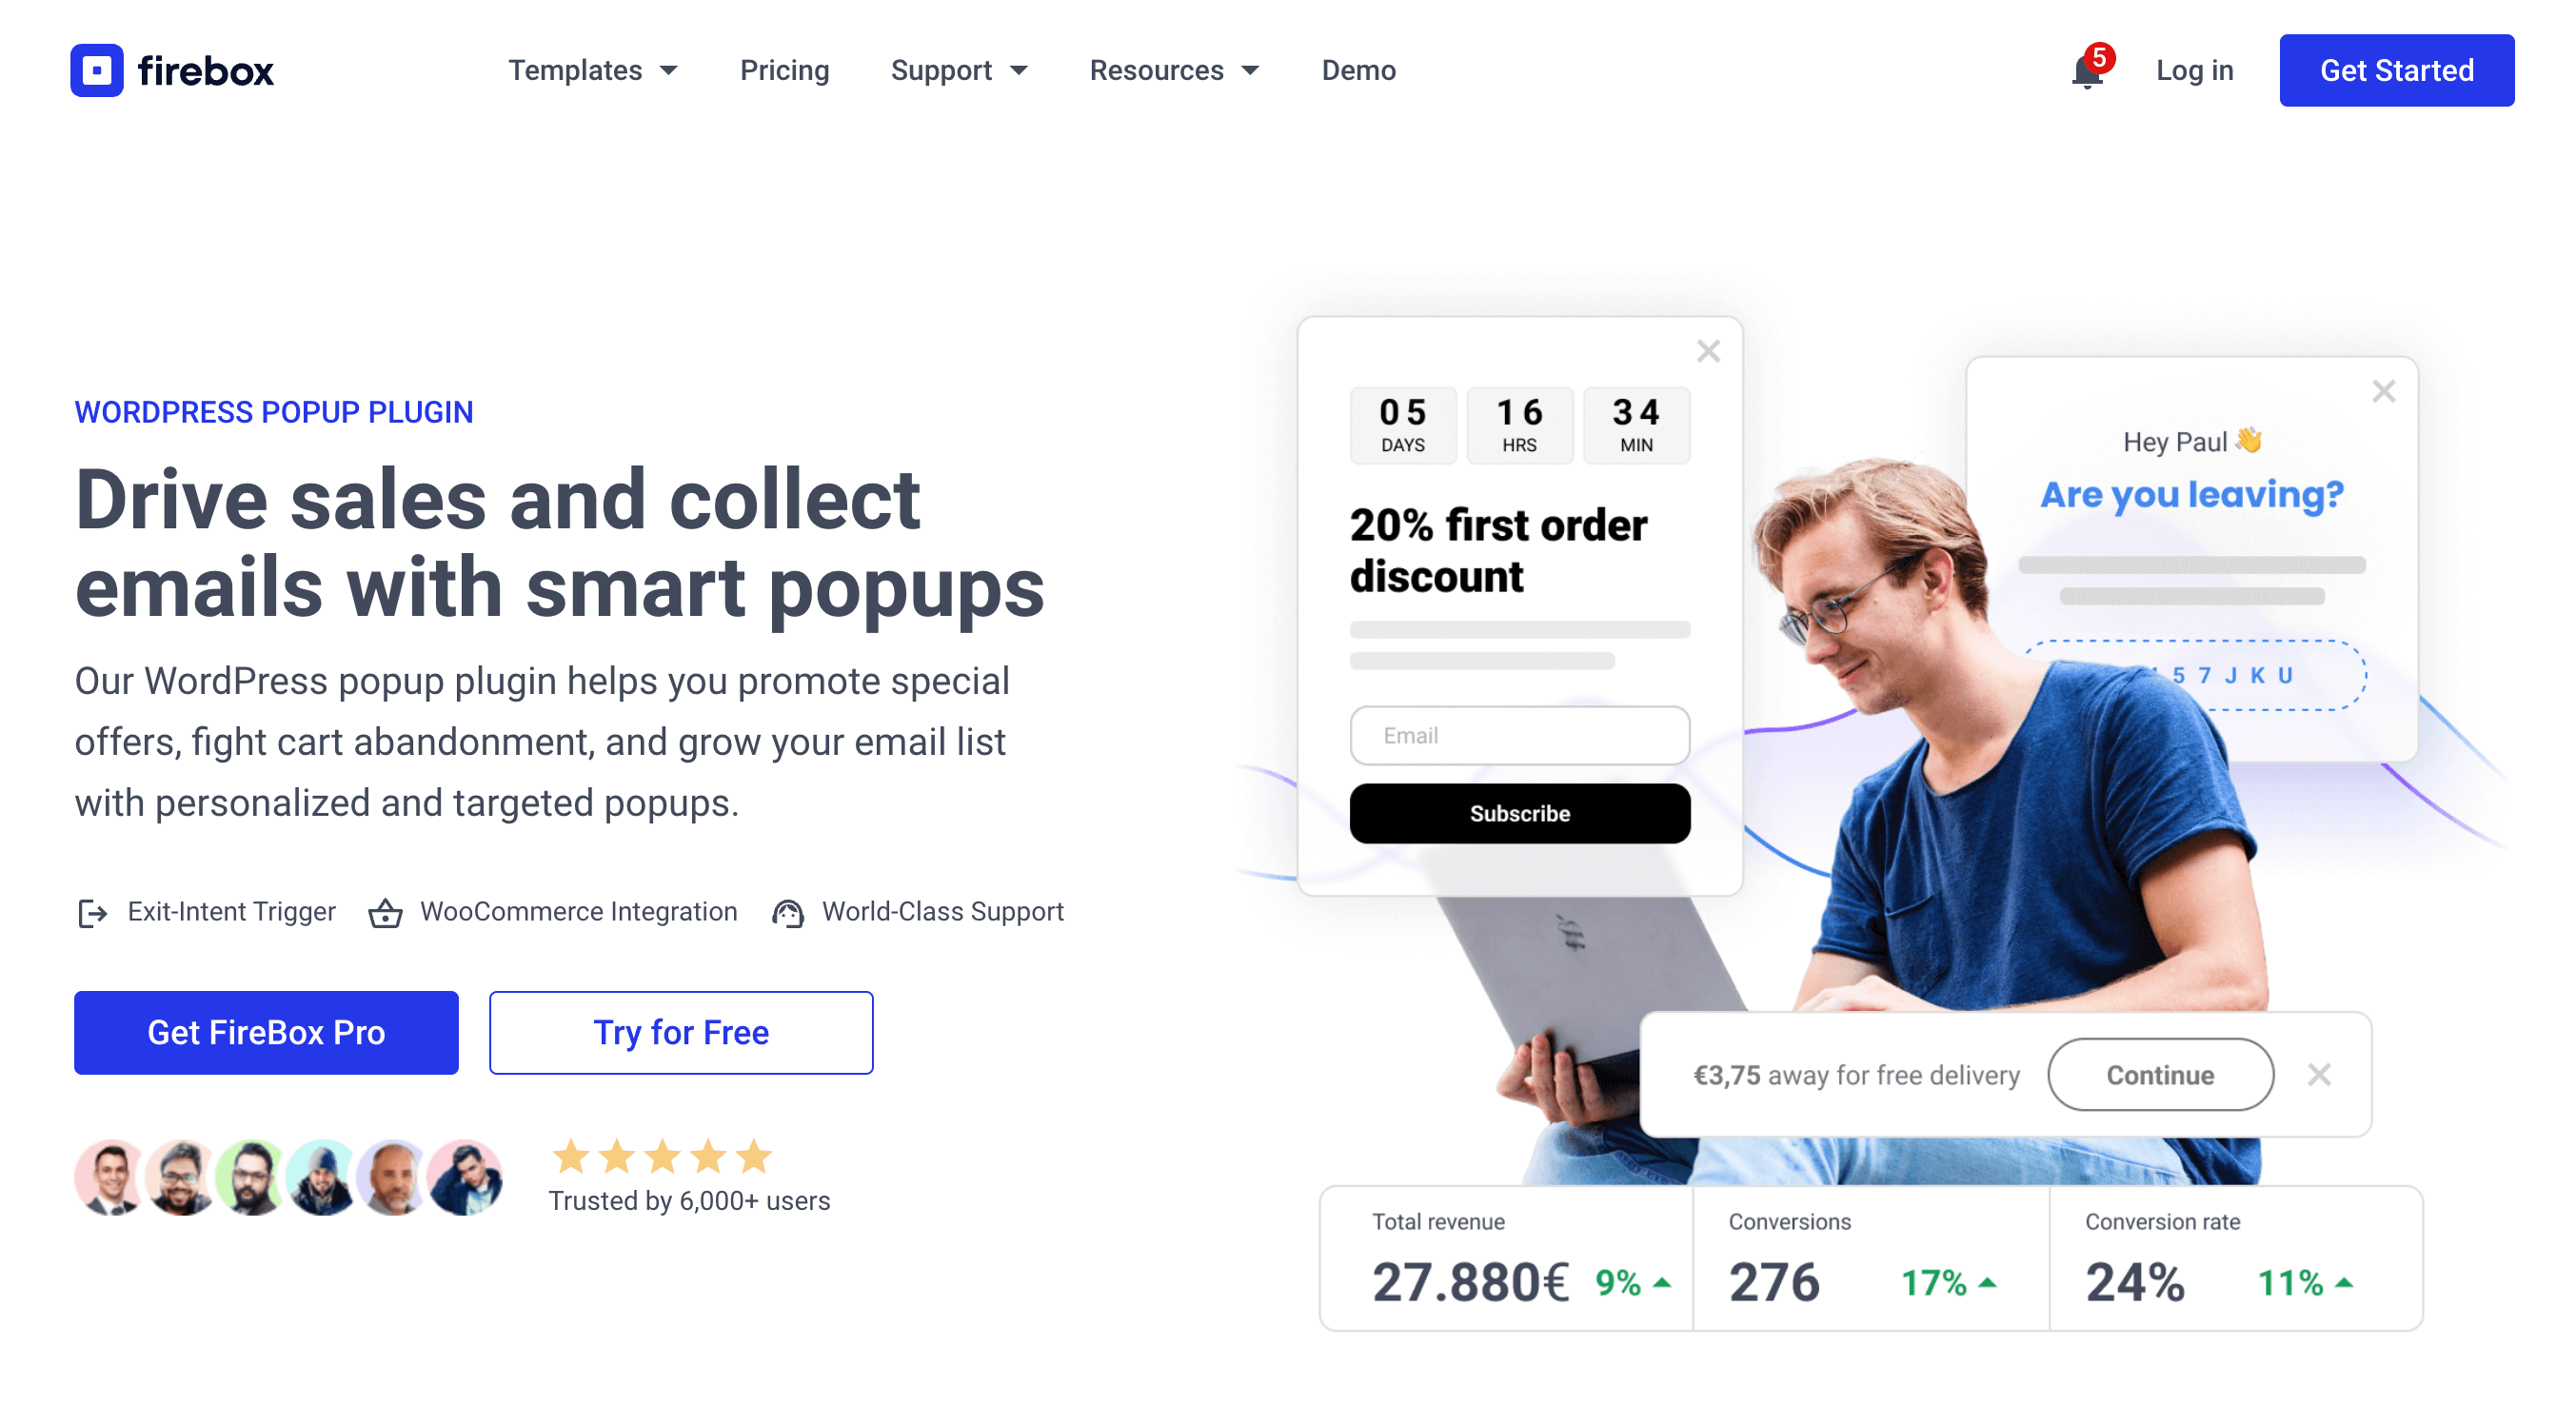
Before you can begin the tutorial, you must install a reliable plugin on your site. When it comes to popups, or forms, FireBox is the best WordPress popup plugin. It’s a powerful popup maker for WordPress based on the Gutenberg Block Editor. With a user-friendly interface, FireBox allows you to easily create and customize various popups, including lightboxes, sticky bars, sidebars, fullscreen popups, slide-ins, floating buttons, and more.
FireBox offers precise control over when the forms appear, giving you access to creating personalized and targeted forms with display conditions based on Device, Referrer, Page, URL, Cookie, Geolocation, Datetime, and even conditions for WooCommerce.
Step 1: Download FireBox Lite
The very first step is to download FireBox Lite and install it on your WordPress site by following the steps listed below.
Step 2: Install FireBox Lite
After downloading the FireBox Free installation zip file, upload it to your site.
- Head to your WordPress dashboard and click on Plugins > Add New.
- Choose the zip file you have just downloaded. Click on install.
- Once the plugin is installed, click the Activate Plugin button to activate the plugin on your site.
If you need any help with the installation process, see the documentation on installing FireBox for help. Looking to go Pro? Don't worry, if you're already using FireBox Lite, you can easily upgrade from Lite to Pro. However, after upgrading to Pro, you must also activate your license to ensure you receive automatic plugin updates.
Step 3: Create a New Popup Campaign
First, we will create and configure the popup itself.
- From your WordPress dashboard, navigate to FireBox > Campaigns and click the New Campaign button.
- You will see the FireBox Template Library. You can choose any template as a starting point. For this tutorial, we will select a simple one from the "Collect Email Addresses" category, called "Sports Store Welcome Discount Popup Form". Click Insert to load it into the editor.

The FireBox campaign editor uses the familiar WordPress block editor, so you can customize the content just like you would on a page or post. Feel free to change the text, add images, or include a form.

Step 4: Configure the Popup Trigger
To make the popup appear when a user clicks an element, we need to set up the appropriate trigger.
- With the campaign open in the editor, look for the FireBox Settings panel on the right side of the screen.
- Open the Trigger panel.
- In the Trigger dropdown, select Click trigger.
- A new field called Trigger Element will appear. This field tells FireBox which element on your page should open the popup when clicked. In this field, type
.open-bricks-popupand press Enter. This is a CSS class we will assign to our Bricks button in the next step.

Your trigger configuration is now complete. FireBox will now look for any element with the class .open-bricks-popup and attach the popup to it.
Step 5: Create the Trigger Button in Bricks
Now, let's switch to the Bricks editor to create the button that will open our popup.
- Open the Bricks editor for the page or template where you want the trigger button to appear.
- Add a Button element to your layout. You can style it however you like.
- Select the button to open its settings in the Bricks panel.
- Go to Style > CSS > CSS Classes.
- In the text box, type
open-bricks-popup(without the dot). This must exactly match the class you entered in the FireBox Trigger Element setting. - Save your changes in Bricks.
Now, if you visit the page on the front end and click the button you just created, the popup will appear.
Step 6: Set Your Display Conditions (Optional)
FireBox allows you to control exactly where your popups can appear on your site. For instance, you may want your Bricks popup to show only on your homepage or on specific product pages. By default, your FireBox popup will appear site-wide.
- Go back to editing your FireBox campaign.
- In the FireBox Settings panel, open the Display Conditions panel.
- Click Add Condition.
- You can change this to target specific content. For example, to show the popup only on a single page, you can choose the Page Condition and select the desired page.
- You can add multiple rules to create precise targeting for your campaign.
These conditions ensure your popups are relevant to the content your visitors are viewing, which helps improve user experience. For more advanced targeting, such as by Device or User Group, you can explore the options available in the premium versions of FireBox.
How to use the Bricks Editor for your Popup Content
What if you want to design your popup's content using the Bricks editor itself? You can easily do that by embedding a Bricks template into your FireBox popup via a shortcode.
- First, in your WordPress dashboard, go to Bricks > Templates and create a new template. Design your popup layout using the Bricks editor.
- Once you save the template, Bricks will provide a shortcode for it. Copy this shortcode.
- Go back to your FireBox campaign and delete the existing content inside the editor.
- Add a Shortcode block.
- Paste the Bricks template shortcode into the FireBox campaign editor.
- Save your FireBox campaign.
Now, when the popup is triggered, it will display the content you designed in your Bricks template. This method combines the powerful design capabilities of Bricks with the advanced triggering and targeting rules of FireBox.
Design with Bricks, Power with FireBox Combine Bricks layouts with FireBox targeting for perfect popups.Conclusion
Creating a bricks popup doesn't have to be complicated. By using FireBox alongside Bricks Builder, you can set up targeted, high-performing popups in just a few steps. You get the design freedom of Bricks and the functional precision of FireBox.
Because FireBox integrates directly with the WordPress block editor and supports click triggers in its free version, it is an accessible and effective tool for any Bricks user looking to add popups to their site.
Ready to start creating popups for your Bricks site? Get FireBox today.
Get FireBox for Free
Enter your WordPress website URL to install instantly.
Trusted by 9,000+ users
0 Comments